6- Plastic 1/12 scale file cabinet
*
*
*
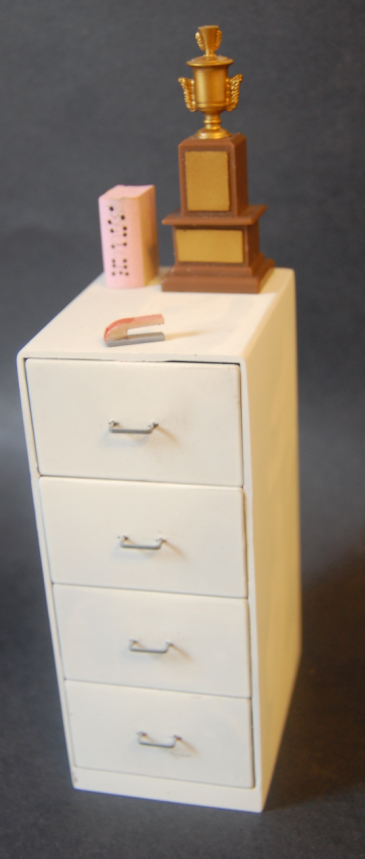
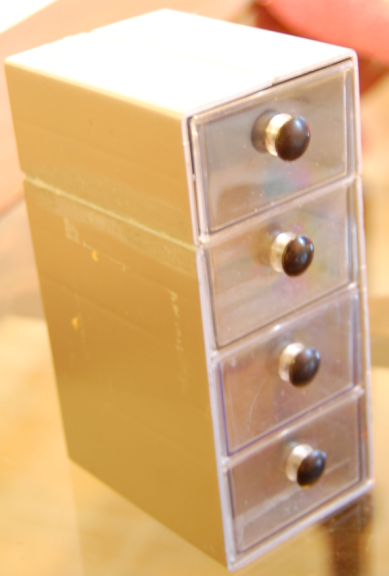
This is a picture of the 1/12 file cabinet project almost completed. Read the following to see how it started.
*
Life is so curious sometimes. Since about 3 years, I had a bunch of very small storage bins with transparent drawers and I looked at them and pulled the little drawers many, many times and one day, several weeks ago. looking at them an idea came to my mind. I had probably looked at my file cabinet a few minutes before to put some papers inside and then this curous association of “pictures” that your brain takes without your permission and stores it somewhere in a secret place. Suddenly it’s like somedody is knocking at the door and sending me some telegraph. In fact it was my brain who was knocking at my door (my nut case) and is showing me “pictures” of the 2 things, like superimposed, or juxtaposed, or whatever, some virtual scans or I don’t know what. Then I looked at my file cabinet in the other corner of the room, and then back at this mini storage bin, and vice-versa. I scratched my head and looked again and for sure these two were relatives, grand-pa and grand-son, I guess. They almost looked the same. I mean all the proportions were extremely similar compared to their respective scales. There were some differences but they could be fixed with some good labor, patience and precision. To my eyes the ratio was 1/12 for the small one compared to the big one. I was happy because I already created a couple of 1/12 scale items up to date (I have to find them) and I have a lot of material for this big scale. As there are a couple of american car scale models on the market, many formula 1 race cars, many motorcycles, a couple of figurines, a set of tools including a toolbox a floor jack and a set of acetylene torches. This last item has been on the market a while ago. I have it here with the 4 figurines from Tamiya (race pilot, team manager, and 2 different race mechanics. here are some pictures of these kits :
*
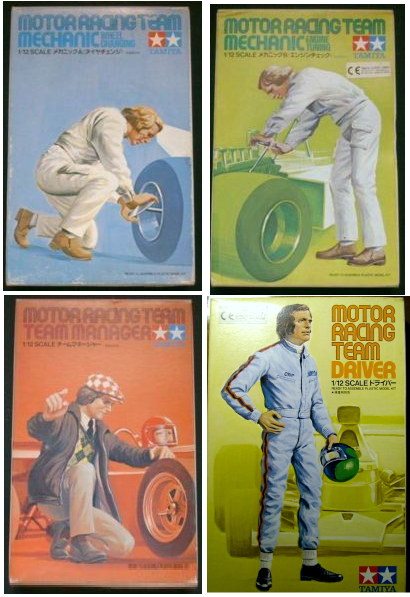
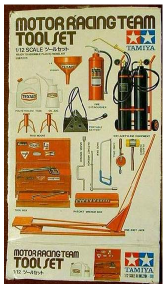
*
The above kits were sold separatly at the time but now they are sold in 1 kit :
*

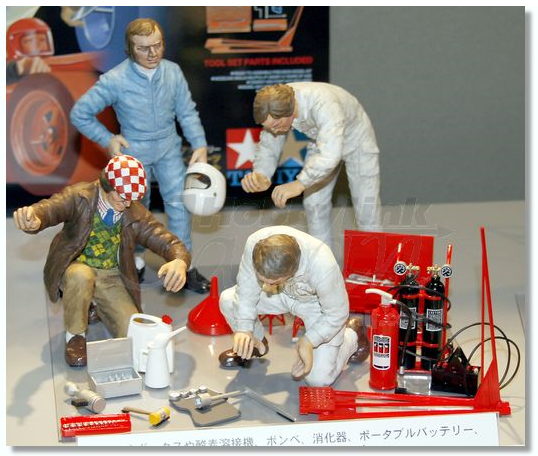
*
why not building a file cabinet though? This is a very odd or uncomon Item, nothing sexy at all, so who would be dummy enough to build such an idiotic (not iconic, don’t get me wrong) item? Well… Who? Me, of course, who else would loose his precious time building something so…
*
I always liked to transform some plastic boxes into something different, like for example it is very easy to convert a 4 track cassette casing into a table or a nice work bench, I like this plastic because it it hard, not soft. It doesn’t wave like some sheet of styrene that we buy at some hobby shops.
*
Ok, then here’s the first picture of the animal as it was at the biginning…

*
Here are the dimensions of the little storage bin : 4 inch high (3 drawers high), 4½ inch wide (for 2 drawers wide), and 3 inch deep. These are the original dimensions of one of these 6 pack drawer bins, but it should be instead 5½ inch high (4 drawers high, plus a little extension at the bottom), 2¼ inch wide (1drawer wide) and the same depth (3 inch).
There are 3 main differences between my 1:1 file cabinet and this small storage bin.
First, my file cabinet has 4 drawers superimposed in one row. This small storage bin is built with 6 drawers, but 3 superimposed on the right side and 3 on the left side. The unit is a kind of 6 pack if I can tell. It’s not 2 packs of 3 drawers glued together. They are molded-in.
The second difference is that my file cabinet has a small extension between the ground and the first drawer at the bottom, about 4 inch high. This extension is not like a base that you can remove from the item but it is built-in, spot welded sheetmetal. The 2 sides of the cabinet are made of one piece, no joint for the extension at the bottom and I suppose that the back is the same.
For the third difference, the knobs or handles are completely different from the small to the big one.
In fact I have 4 of these 6 pack units taped together with clear tape. The picture above shows the one of top taped on the one just under. We don’t see the 2 other ones on the pic as they are too low. I had to cut the tape to free one of these 6 pack units and empty the drawers prior starting to modify the little cubicle.
Let’s start fixing these things.
*
*
*
Ok, I took the time necessary to look at the unit under all angles, study the construction in details and look for the solutions available. I try the most to avoid the big problems or the big mistakes and I look for the best ways I can do it. It looks simple but there is a lot of work involved and the cuts have to be precise at their best, not much room for mistakes, or it will require more and more work to fix them.
*
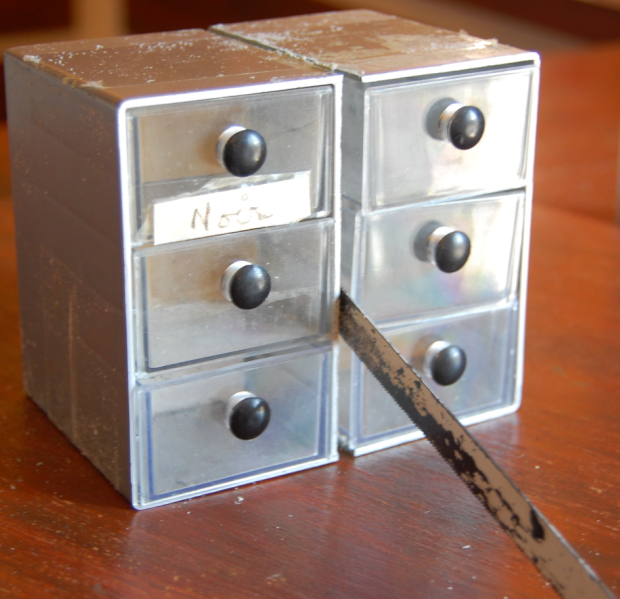
I decided to keep the left side and scrap the right side of the 6 pack unit. The center of the bin has only 1 wall, so you have to cut on the left side of the center wall if you want to save the complete right section of the bin, or cut on the right side of the center wall if you want to save the complete left section of the bin. It is one way or the other, no other choice. So as I said I chose the left side but I could had chosen the othe side instead. I would have to fix one side or the other with putty anyway.
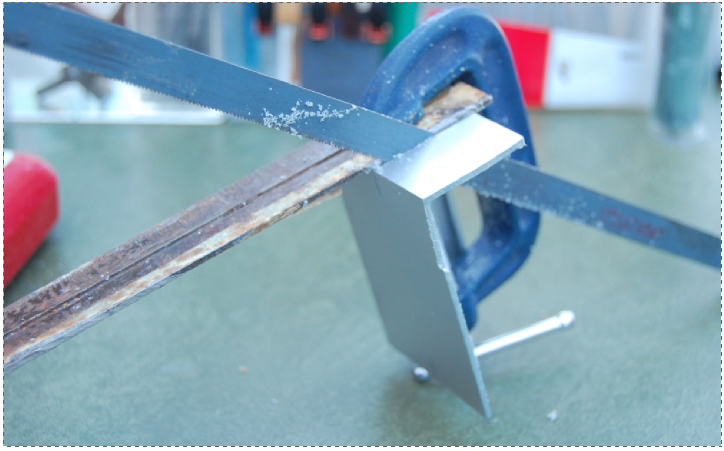
So the above picture shows the first cut, with in its middle, the saw blade
*

*
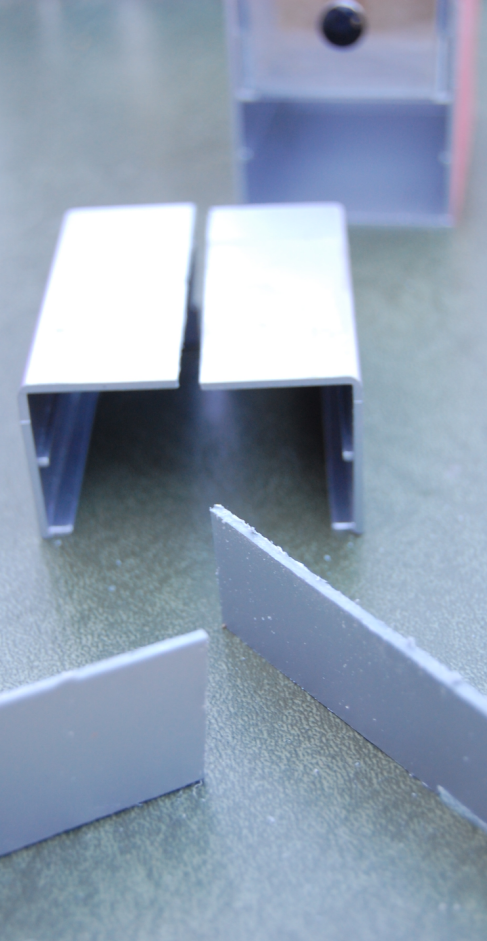
This 3rd picture (above) shows the 2 halves completely separated. Notice that there were some plastic bars (support and guides) molded in on both sides of the center wall. This rough right side of the left side drawer unit will have to be sanded and puttied repeatingly, till it gets smooth. I will keep some parts of the right unit to build the 4th drawer casing on top of the 3 drawer units on the left side. You will see how I will do it.
*
*
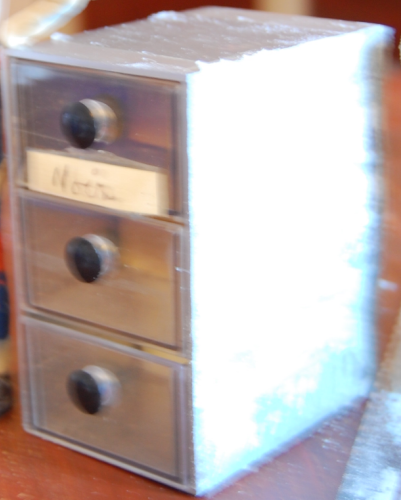
The above pic shows the right side sanded
*
*
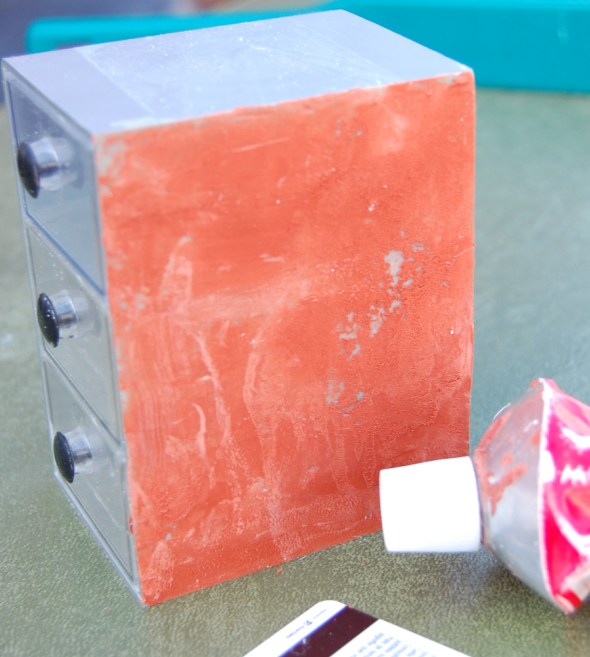
The above last picture shows the first coat of glazing (finishing coumpound, or spot putty as we call’em too). It’s getting a little better. I use a thick plastic card to apply the glazing (bank card or Tim Hortons for example). Plastic cards are very useful. You can cut them in strips of the dimensions wanted for applying putty on wider or narrower surfaces.
*

*
With my motor tool (Dremel style, but another brand name) I cut the top panel of the little cabinet. I couldn’t leave the top on it since it would had made a gap between the first drawer that I will add on top of this 3 drawer unit. I have to follow the same pattern as the ones below (see the molded-in guide bars). The cutting wheel on my motor tool comes from a metallic gear (flat style) taken in a toy, I recyle so many things (lol).
*
*
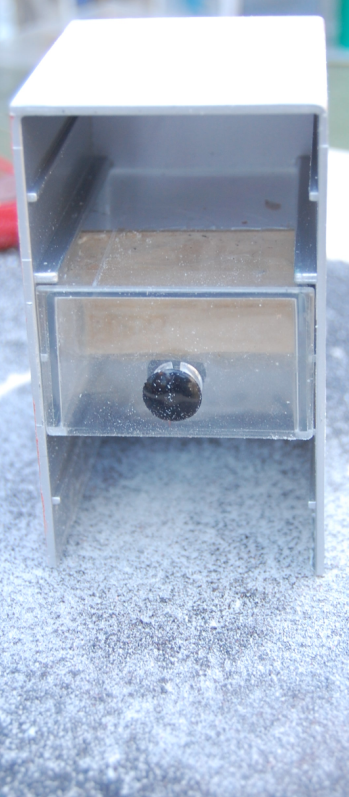
Ha! You get mixed up, don’t you? The thing is upside-down and I sanded the top part on a rough sanding paper. I removed the thickness of plastic that I needed to get rid of. You have to sand equally and stop and look frequently to see if it is crooked in some area and put more pressure on the opposite side to balance the sanding. You get used to this tricky thing. It doesn’t take too long to take some experience, if you never tried it. Just take your time, don’t go too fast, verify frequently.
*

*
Ok, by the picture above you see that the thing is back on it’s normal position. The top surrounding edges are now cut smoothly.
*
*
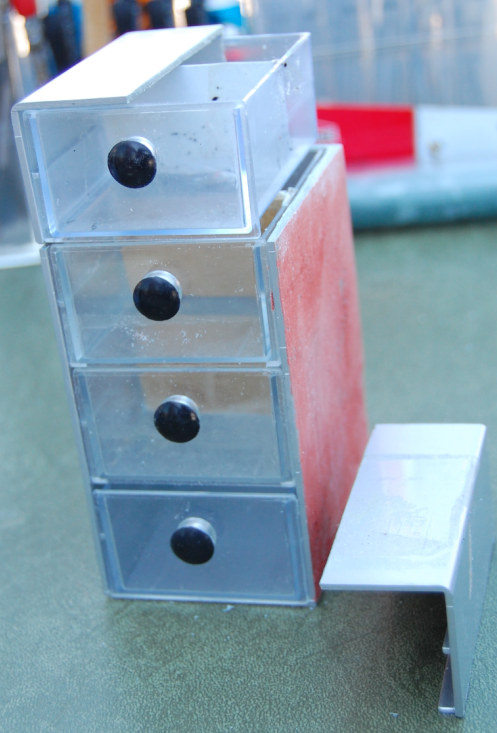
Above is a piece of the right side unit. I told you that I wanted to take some parts.
I draw a line with a square, installed a steel ruler tight along the line with a clamp and used a saw blade to cut the plastic along the ruler, then I continued the cut using the same method on the other surface at 90°. My mesurements are precise. Even the thickness of the saw blade is counted in my calculations, and which side of the line the saw blade has to cut. This is a basic notion of woodworking, or any cutting with saws in general, including band saws and other ones. You have to make sure not to remove too much material, that’s the point.
*
*
Now… The above pic shows the parts that I took from the right section that I did not use. Instead of cutting the top part of a second unit of 6 drawers, ten cutting it in the middle again, or removing a piece on the left side and one on the right, I used the scrap parts and saved one of my 3 other storage bins. I simply took the right top corner and the lower right corner of the wreck. Of course prior doing that I had inspected both parts if they were the same, with the same guide bars at the seme places. Everything was there and just the opposite to make a right and a left side and joining them together. I only had to remove the excess of material. In front, the 2 parts that I removed from the sections that I needed. I won’t use them. In the middle, the 2 pieces aligned face to face ready to be assembled, and in the back ground, of course the 4th drawer that I will need.
*
*
The project is taking more and more shape. The above photo gives you a clear idea of the assembly. The Left top piece is into place, holding by some tape for a fit-test and the right piece still on the ground, the drawer must be into place to verify if all the parts involved match correctly, if there is no gap or material missing in some area.
*

*
The parts for their fit-test. Everything is ok, I will be ready soon for gluing the parts together, but, as usual I will use some guides. The reflexion of the light on top of the miniature file is hiding the jonction line where the 2 parts meet together but on the other hand it gives a better idea of the final result.
*
*
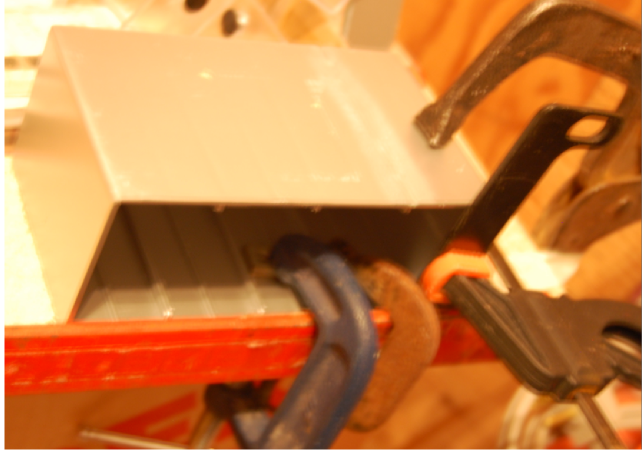
I want everything as straight as a bar, so I use a very flat piece of wood with a flat bar screwed on the edge to align the pieces at the front and clamped on the side, so nothing will move and get crooked or misaligned. I glue one piece at the time using this method.
*
*
And now we see the result with the parts finally glued together.
*

*
The putty on the joints. This will require several steps of sanding, glazing, coats of primers (I use different colors of primer on different steps of sanding, so after a sanding you see better where you need to apply more putty or more coats of primer. You see it fast and clearly because where the sanding paper did not touch the surface the color is different (previous coat of primer of another color), this is an old trick that a friend body worker gave me some 30 years ago.
*
*
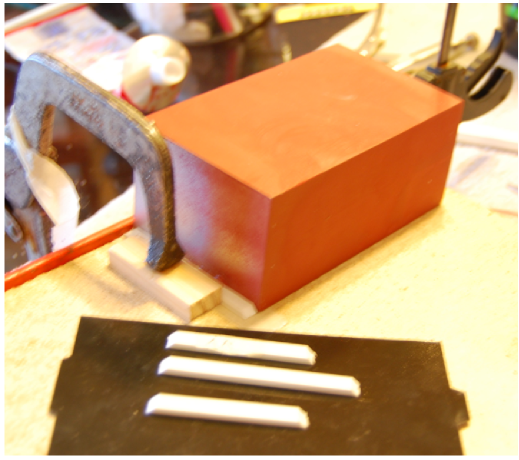
The above shows a black cardboard with 3 white pieces. These are plastic flat bars. This is to build the short extension at the base of the file cabinet. Their corners are cut at 45° on their thickness side. In fact there were 4 bars but the first is installed already. You see it squeezed between a wood piece and glued to the bottom of the file cabinet. As the file cabinet is lying on its side, the bottom of the file become the side for this while, so the flat bar is blued on what we could call the side for the moment, but is in reality the bottom of the file. I explain all these little details because some persons don’t have the sense of geometry and the sense of space and dimensions. I met some people like that sometimes and I understood how they get lost easily and need precise details and more explanations and guidance. It may seem extremely simple for a handy person, somebody with the experience but for some other ones it’s a horse of a different color. If I use so many tools and clamps and bars, and take so many time to build something it’s because I hate crooked things. I rather put a project aside instead of skipping steps.
*
*
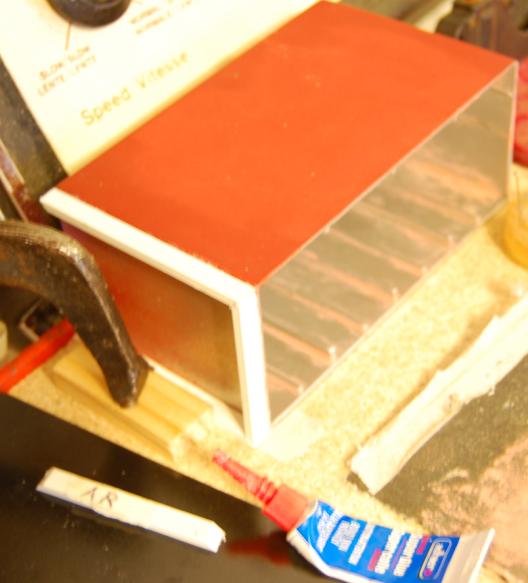
Here we see most of the extension done. Only one piece left to glue into place.
*
*
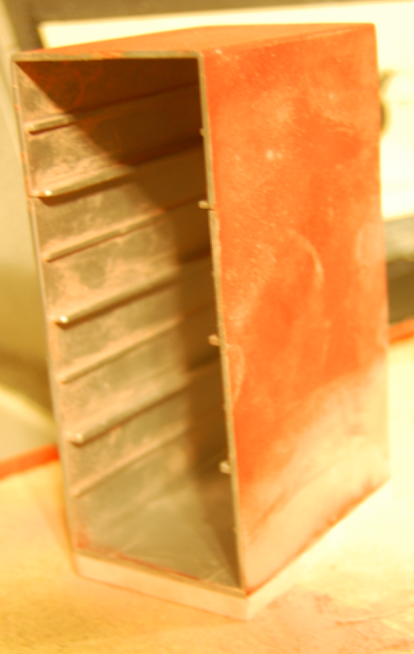
The above pic shows the file cabinet with its extension. Some glazing and coats of primer will be added.
*
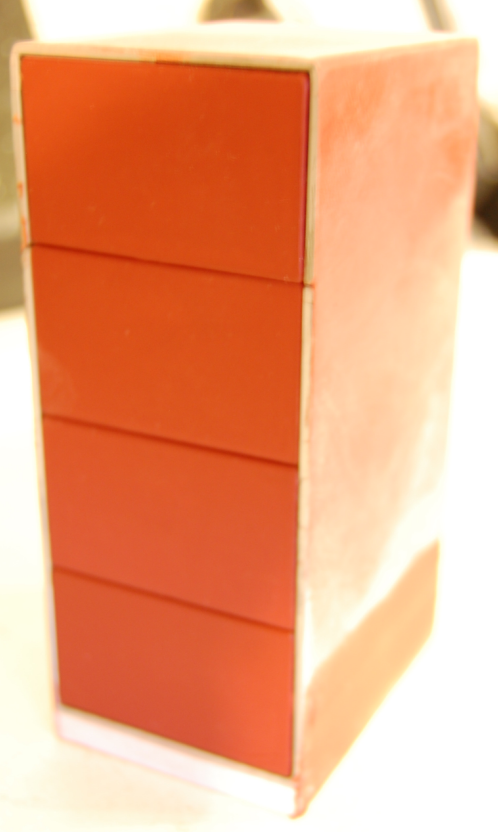
*
Good, good, good. I removed the round knobs on the drawers, filled the holes and applied some coats of primer and sandings. I will install some realistic handles instead, plus some little details.
*
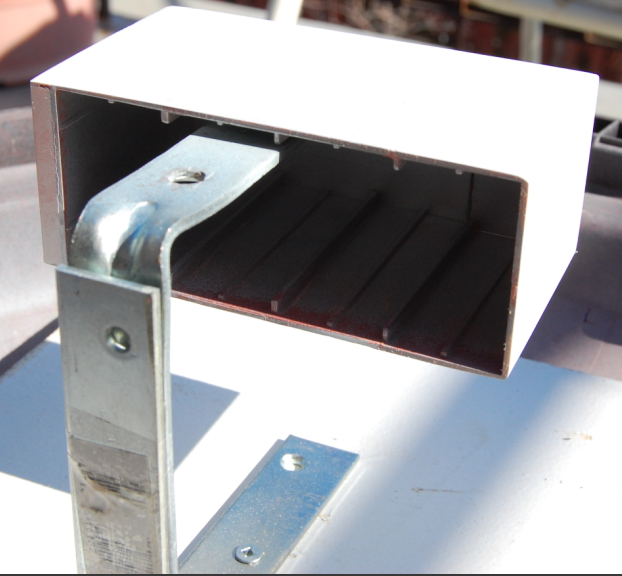
*
Now, I appled another color of primer. I improvised this support that allows me to shoot the primer on the file all around instead of doing it in 2 steps. This is the last picture that I took. The file and the 4 drawers are now on white primer and will need a few more coats and sanding prior installing the final color. It is a nice item. I had compared the dimensions with a 1/12 scale figurine, a car and some other 1/12 scale items and the file cabinet fitted very well and was right in scale. I had verified this at the very biginning of the project, so no bad surprise on this aspect.
*
*
——————————————————————
*
*
Ok, we are a couple of days later now. As usual, I alternated working on several projects and took this one back to perform new steps. There is still needs to correct some little areas but the job is almost done. We see the little base extension at the bottom and that the lines on the sides and at the back were filled with putty to make the miniature file look like my real 1:1 file cabinet.
*

*
To add some more details I created a little stapler that I am going to leave on top of the file cabinet, so the poor little secretary will be looking for her stapler all over the place and won’t be happy of it. What an idiot I am. I am so messy and careless, what a shame.
*
I was thinking about making the handles for the drawers and took my pot plenty of round rods of all kinds. Then I wasn’t inspired by making handles of round rods. I made my mind of looking for some kind of flat bar instead. I wanted something made of metal, hopefully in aluminum but it will depend on what I would find in my bunch of mini flat bars. Suddenly I had the idea to look in my tools and found what I was looking for, my box of T50 staples for guntacker.
*
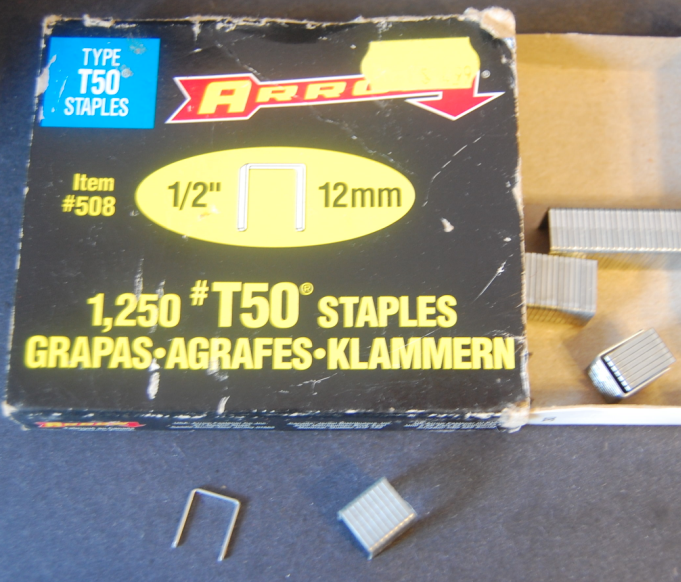
*
This is what I wanted to try as handles and it suites just great. I improvised a spacer to put the handles at the same distance from the front of the drawer (not shown on the pictures) so that they are all at the same distance and both sides of each handle are at the same distance from the surface of the drawer. I made another guide for drilling the 2 little holes for each handle to make sure that they are at the center of the drawer (center sideways and center for the top and lower end of the drawer). The handles are just installed for the while of looking at the file and taking pictures because I will remove them prior painting the final coat(s) of paint. For now the file is on white primer but as I said, I still have some small areas to correct using some sanding and putty, then primer again.
*
Another additional feature that I just crafted to be installed slightly over each handle is this miniature card label holder. I have to make a rubber mold to duplicate the 3 other ones.
*
As I wrote somewhere above, I crafted a couple of nice garage tools for this scale, I also have the ’57 Chevy, ’67 Corvette, ’65 Mustang Fastback and the ’69 Camaro Z-28, all 1/12 scale cars, plus some crafted figurines. I plan some day to build a 1/12 scale garage. Over the years I found enough material to fill 3 document boxes (10 inch X 12 inch X 16 inch) plenty of parts or miniature items suitable for this scale. I am still working on some tools or garage equipment at the moment.
+

*

I foud this funny drawing on the net at this website address:
http://www.thepapertiger.com/blog/tag/the-paper-tiger-finding-filing-system/
*
Any questions? Please ask.
My email address :
florent@montrealminiatures.com
