1/6 scale One of a Kind Vanessa Perrin Star Power New Project on the Run
* 
* Please click on each picture to see them full scale. Then click on the arrow of your browser to go back to the present page.
*
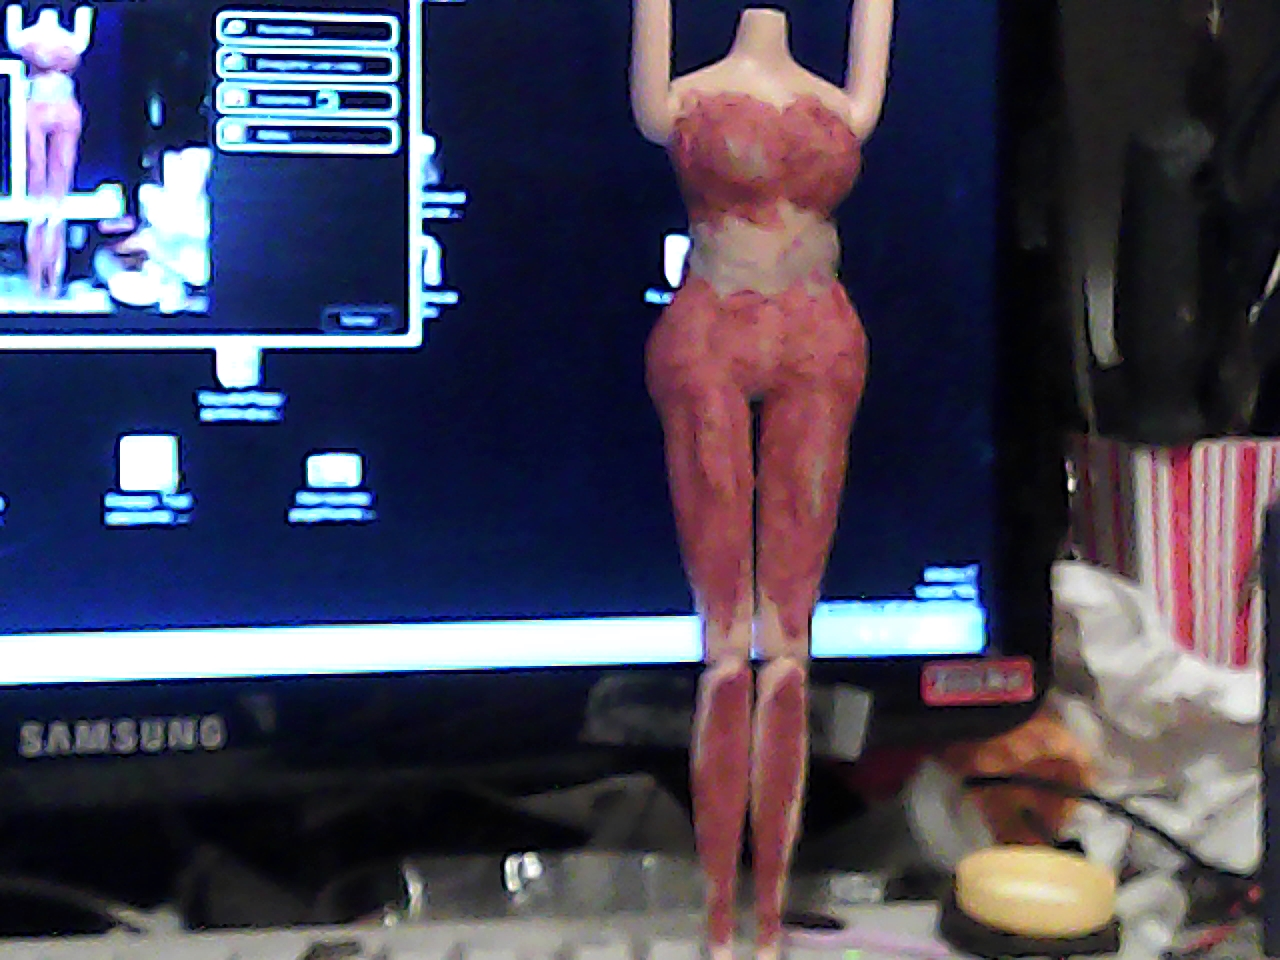
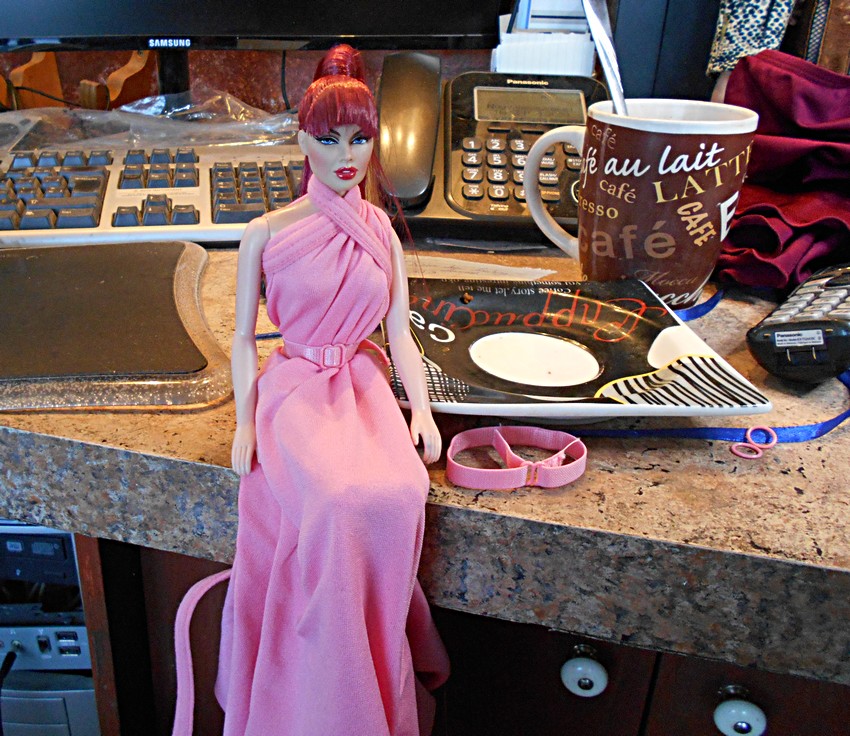
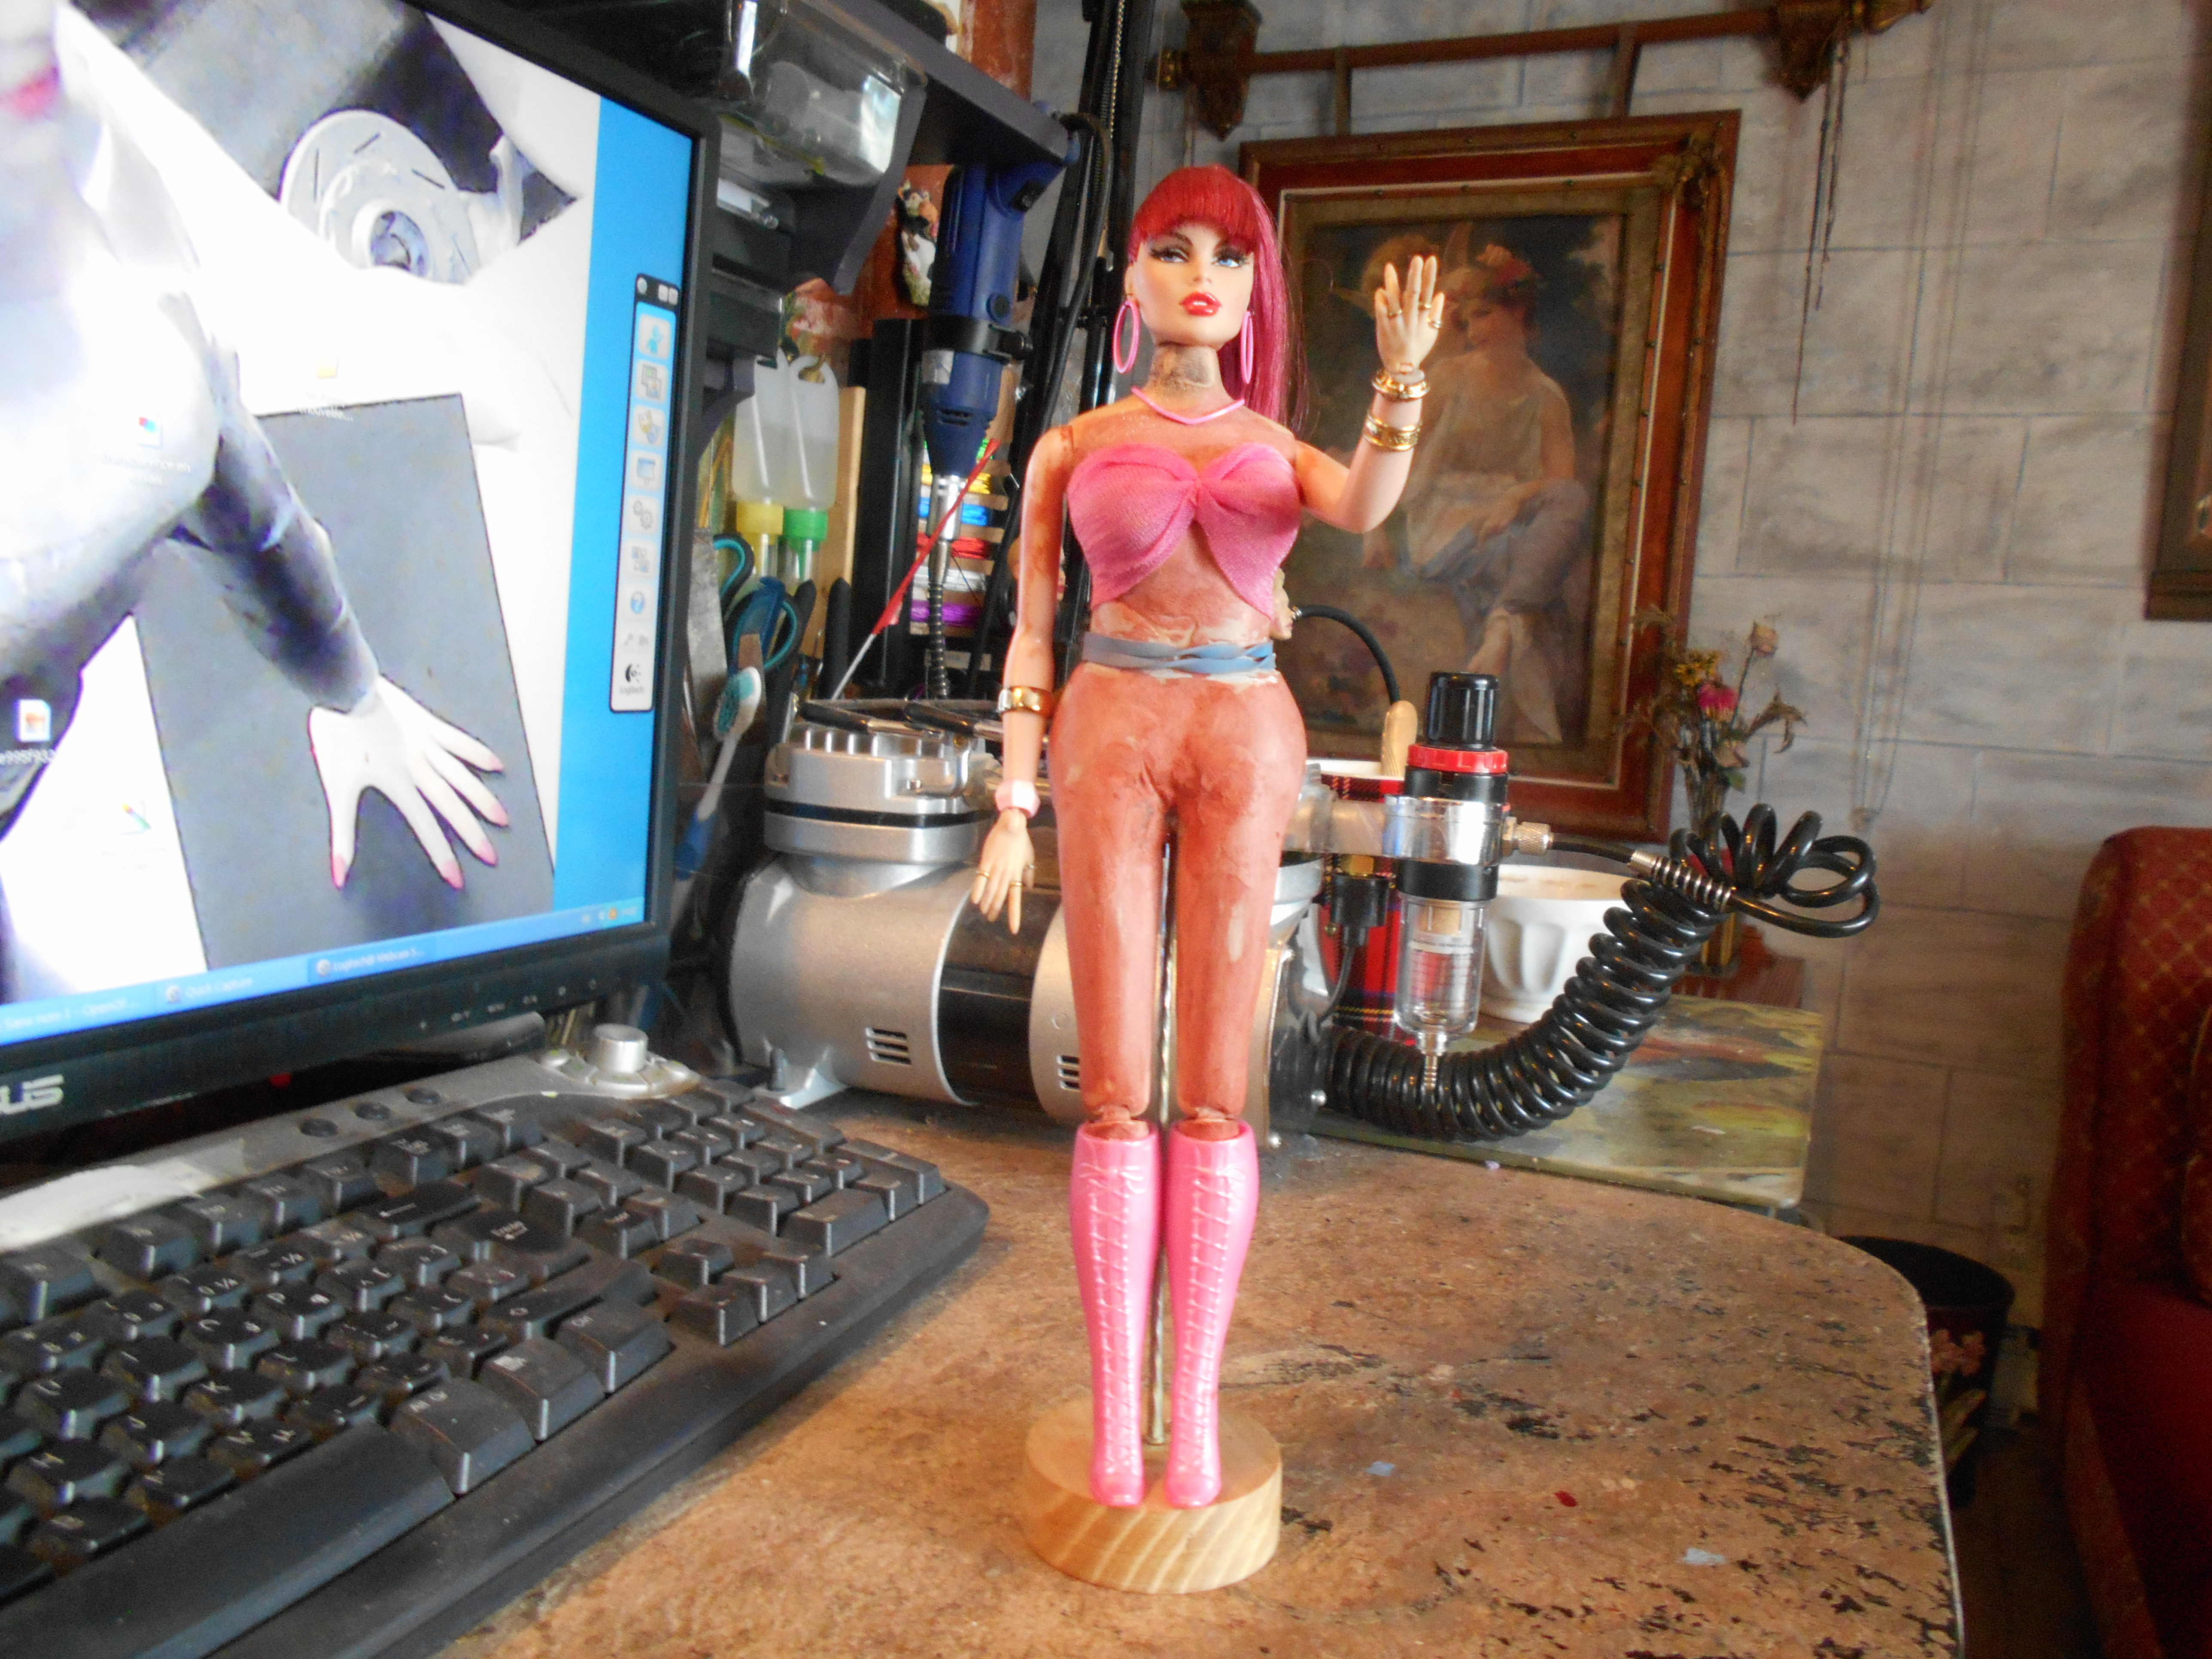
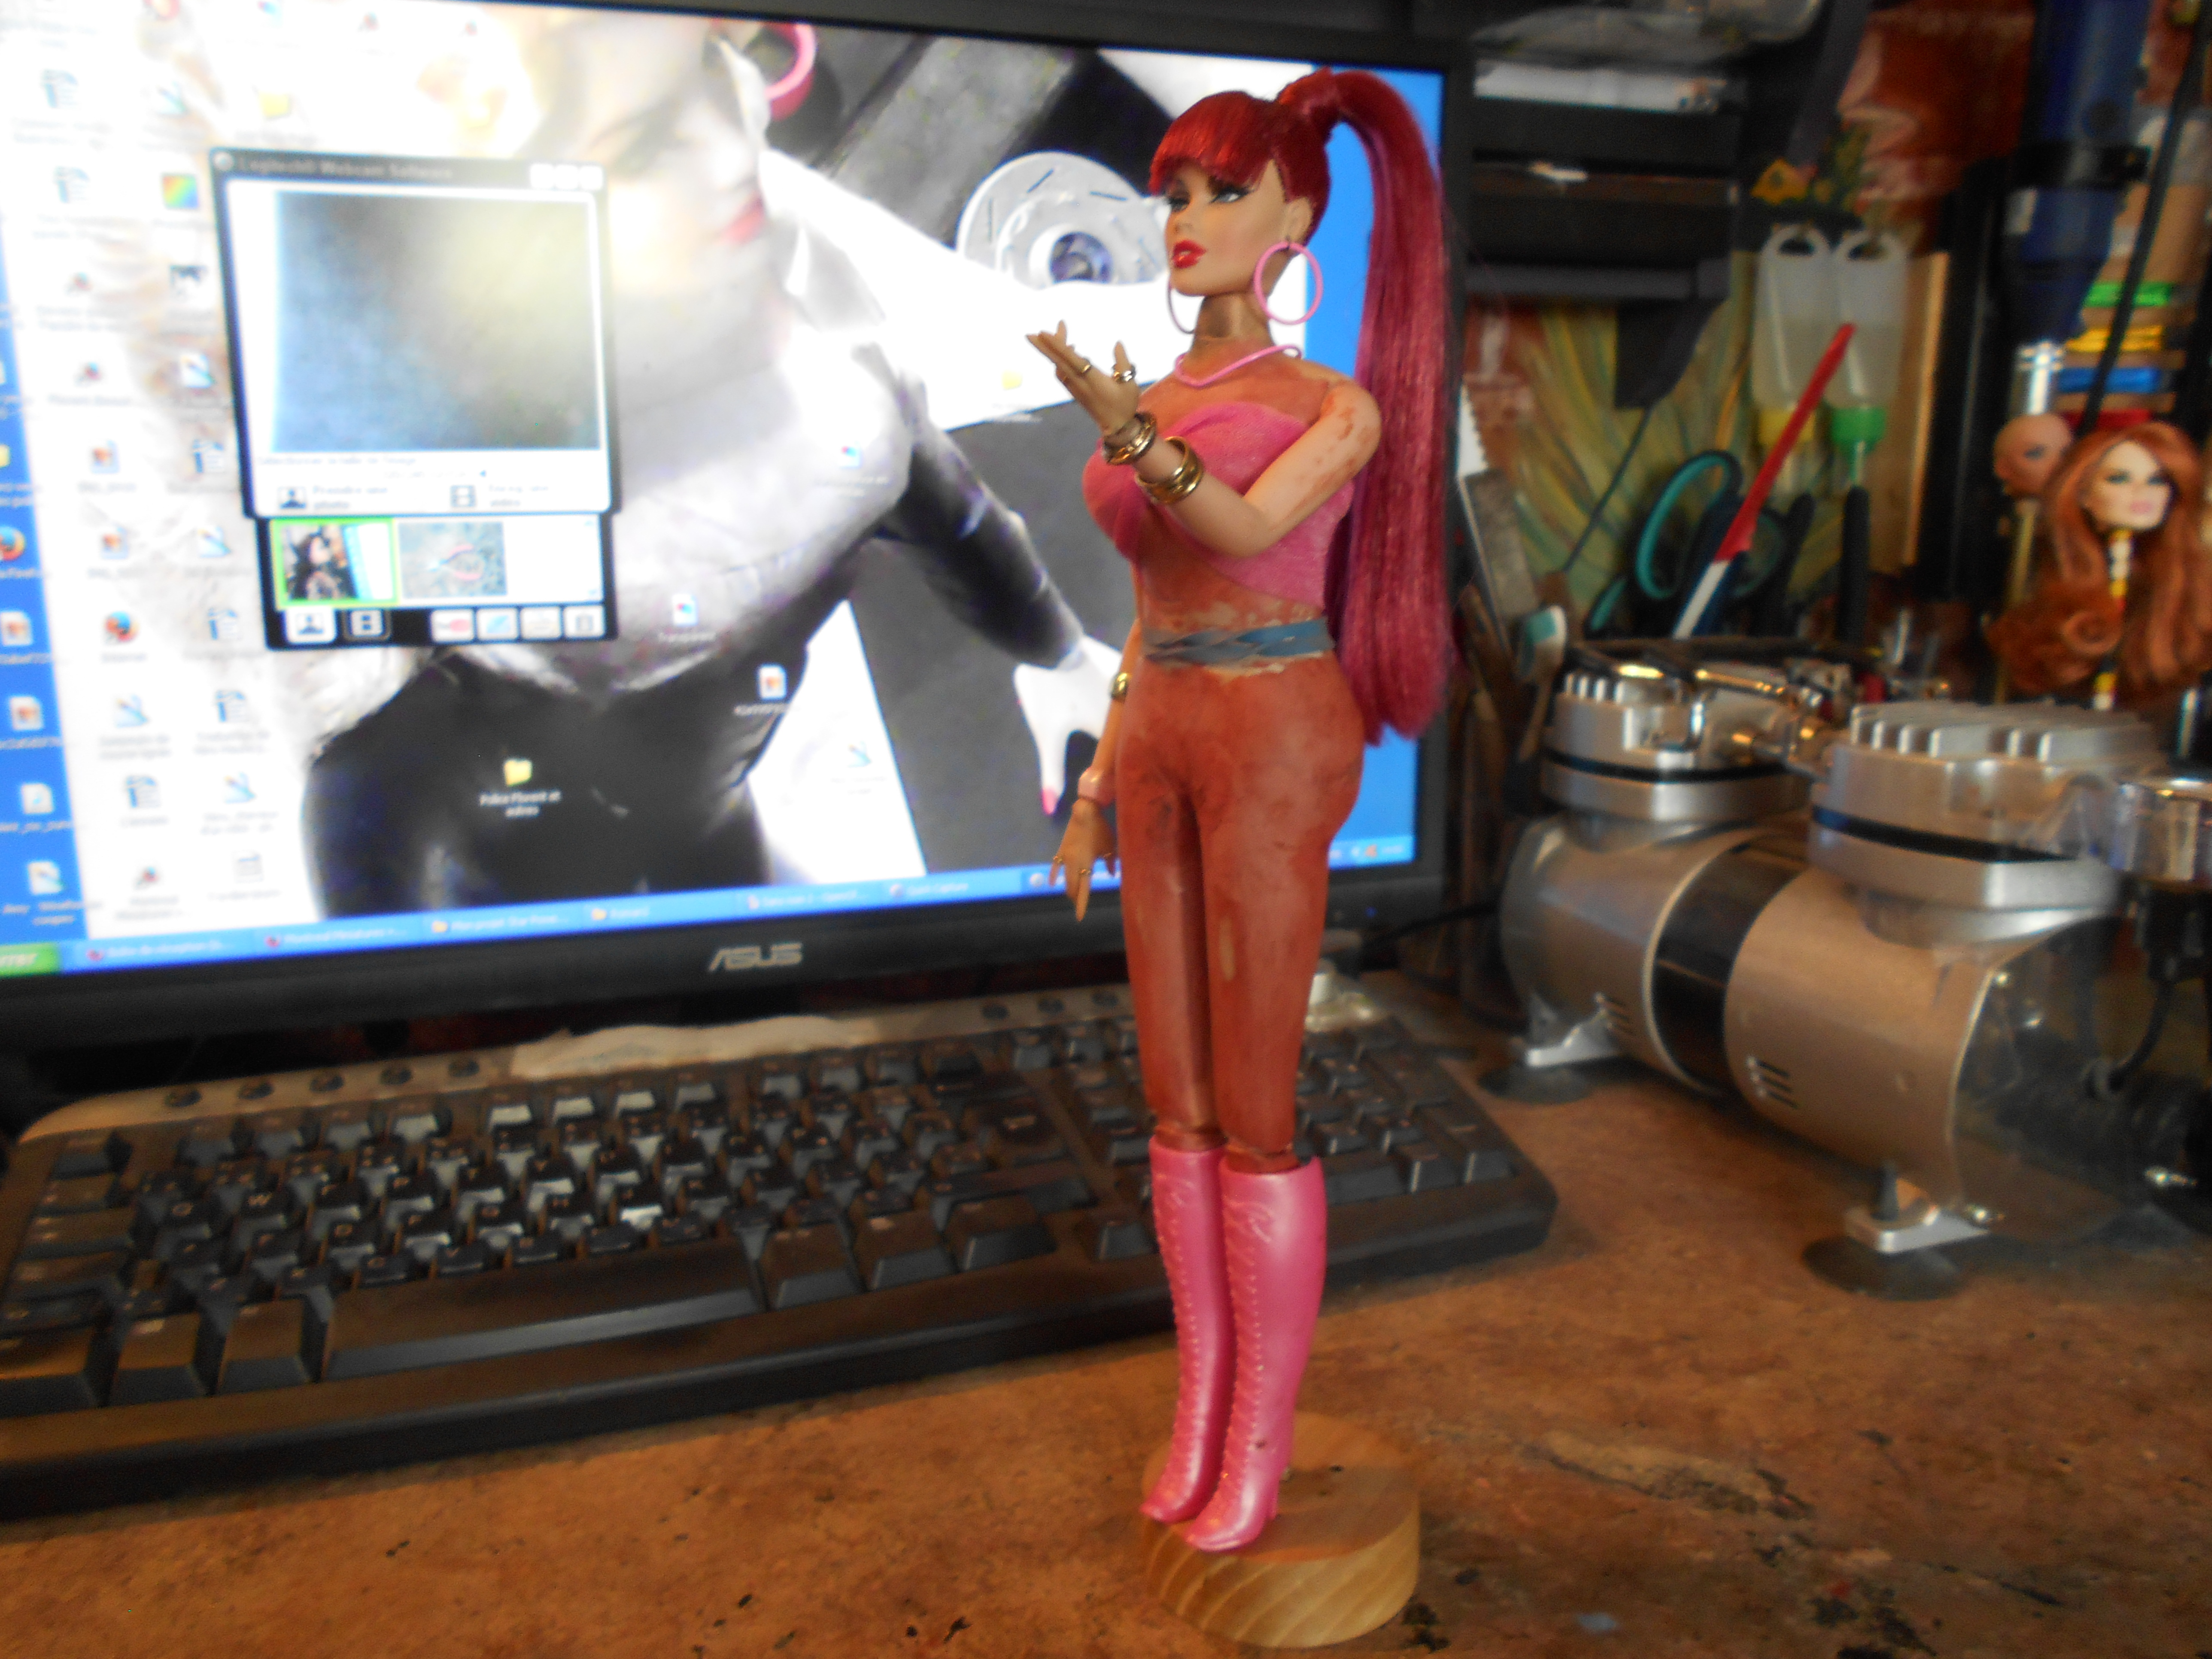
This is the scale model of the new Liberty statue that will be built to replace the old one in New York, USA. She is a lot more beautiful and sexy (lol). Curiously ”Liberty” was offered by France to USA, as a gift. My Vanessa head has been customized by a gentleman in France. In fact, I just took a picture of the figurine on her new body with a raised hand for no specific reason, but looking at her after the shot, came the flash in my mind that she looked a bit like the statue of Liberty. She is one of my last projects on the go at the present time. As she has some kind of pink light burgundy metallic hair, I decided that she will be my new muse to make the presentation of a serial of 1/6 scale pinkish outfits for women. I went shopping and bought many additionnal pink and burgundy fabrics to create with my good friend Mimi, different styles of jumpsuits, dresses, blouses, skirts, belts, boots, shoes, and handbags for the beautiful young lady. I want to name this presentation ”La Vie en Rose” (Life in Pink). The above picture is a starting point of what will be probably a stylished jumpsuit.
*
As I was waiting for the head to be delivered at my friend Mimi, I started to look on the Internet for women outfits. I had the funny idea to take the pictures of the head that I had in my file and make a quick collage on the different photos of outfits that I collected in the same file. I just had to adjust the sizes of heads and bodies and match them quickly just to give an idea of the results of the colors of the hair and color of the outfit. I liked the exercice. I ended up with well over 100 pictures of Vanessa dressed one way or another. Nothing very professionnal as pcitures as I have done the jobs fast. There were just too many pictures to match together. It was just to give an idea of both together. Some mix of pictures look so-so, some other ones were a delight to look at.
*
*
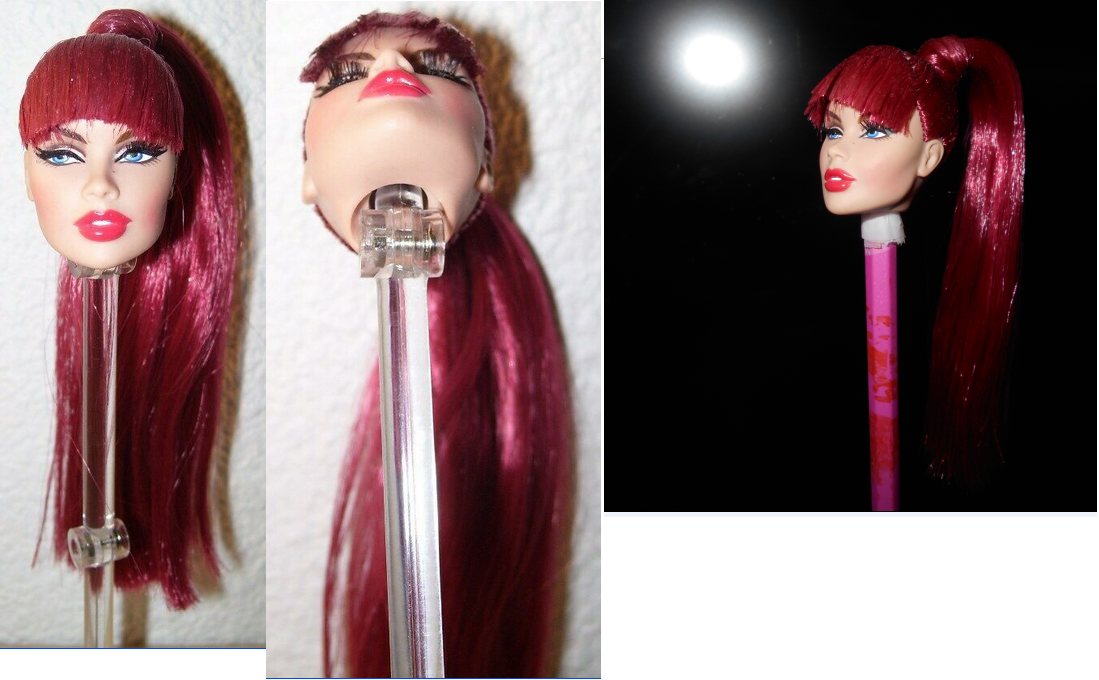
This project started life after I discovered this rerooted head on ebay a few weeks back (today we are Oct 6, 2019). At first I just took the pictures for my file. We (Mimi and I) could build something very similar with the same Vanessa Star Power, so she would have also the very same makeup. Then I was going back to see her on ebay once in a while. No bid on this auction.
.
I finally decided to place a bid (50 euros as she was located in France)
I was lucky to end up with her for the minimum bid as nobody seemed interested on this auction… or at least, interested enough to place a bid on it.
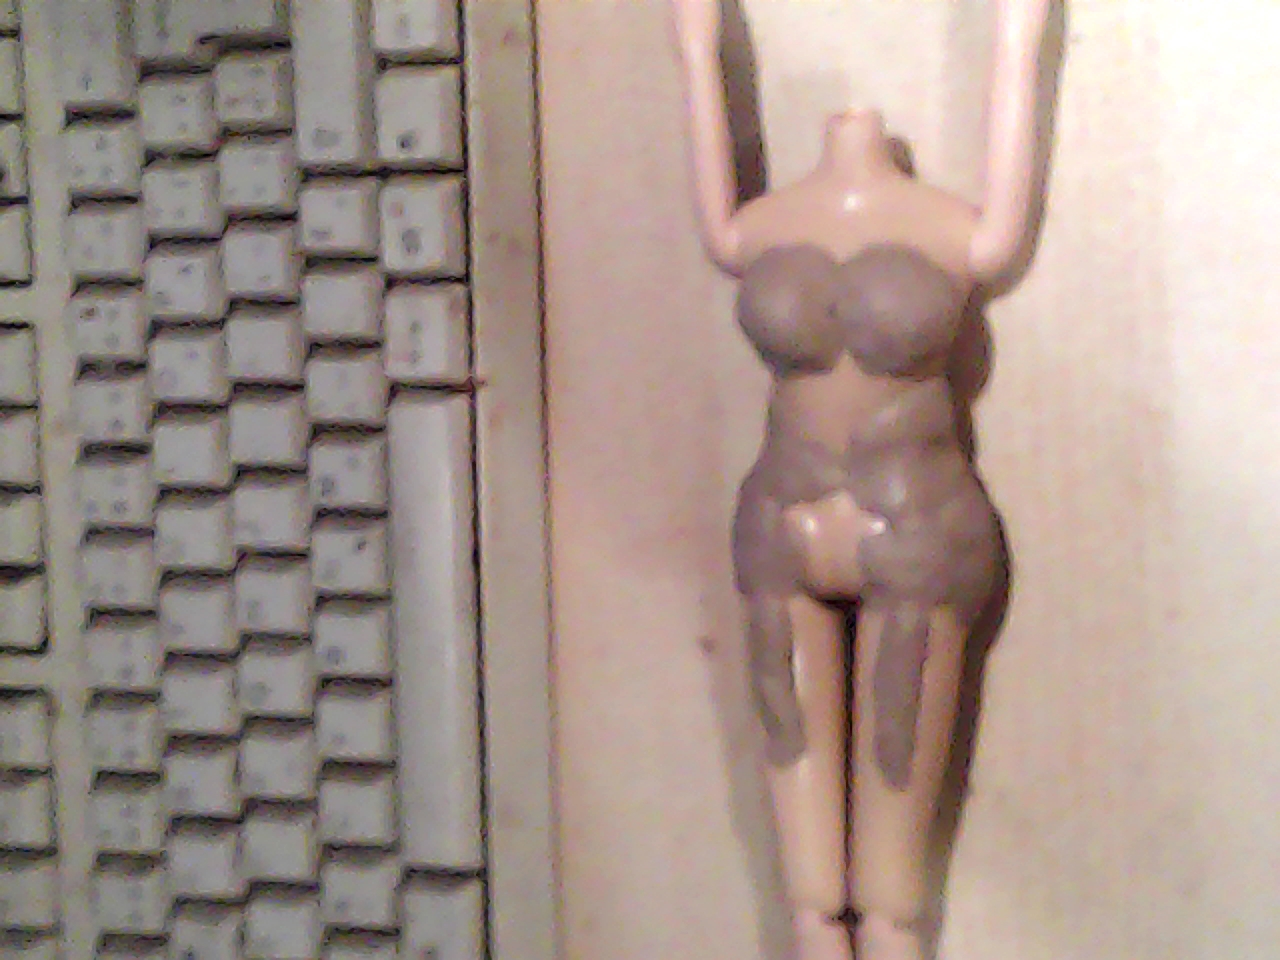
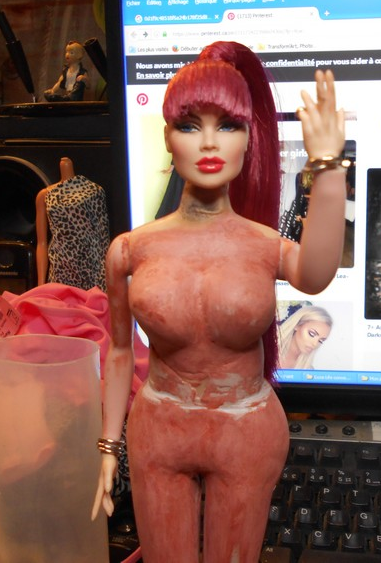
I had only the head but on the other hand, I had a bunch of used 1/6 scale Barbies made by Matel and probably dolls made by other manufaturers in a box, so I went through the whole pile and inspected them one by one. I chose one of them because the legs on it did not seem too long and they were not too skinny eighter. There was a swivel joint at the level of the belt and this area was perfectly round and too tiny compare to the rest of its body. I wanted a body out of the usual standards of these dolls. So I would have to modify the original anatomy of the figurine and make it more chubby but still with beautiful curves. I wanted the breast to be more bulky, but also I would have to create a more realistic waist, proportional to the rest of the new body that I had in mind. She would need also the hips and bum to be increased in volume, as well as the thighs, the calves and the ankles. So the first thing that I did was to apply some polymer paste (Apoxy Sculpt) on the figurine areas just mentioned. On top of the plastic paste Iwould have to apply several coats of car body glazing and sandings between each one of them. Just like the head was a unique piece of artcraft, I would build a special body for her that no other figurine would have. She would be out of the original standards from the top of her ponytail to her toes. Then she wouldn’t wear outfits produced on assembly lines but unique pieces.
*
*  *
* 
*
*
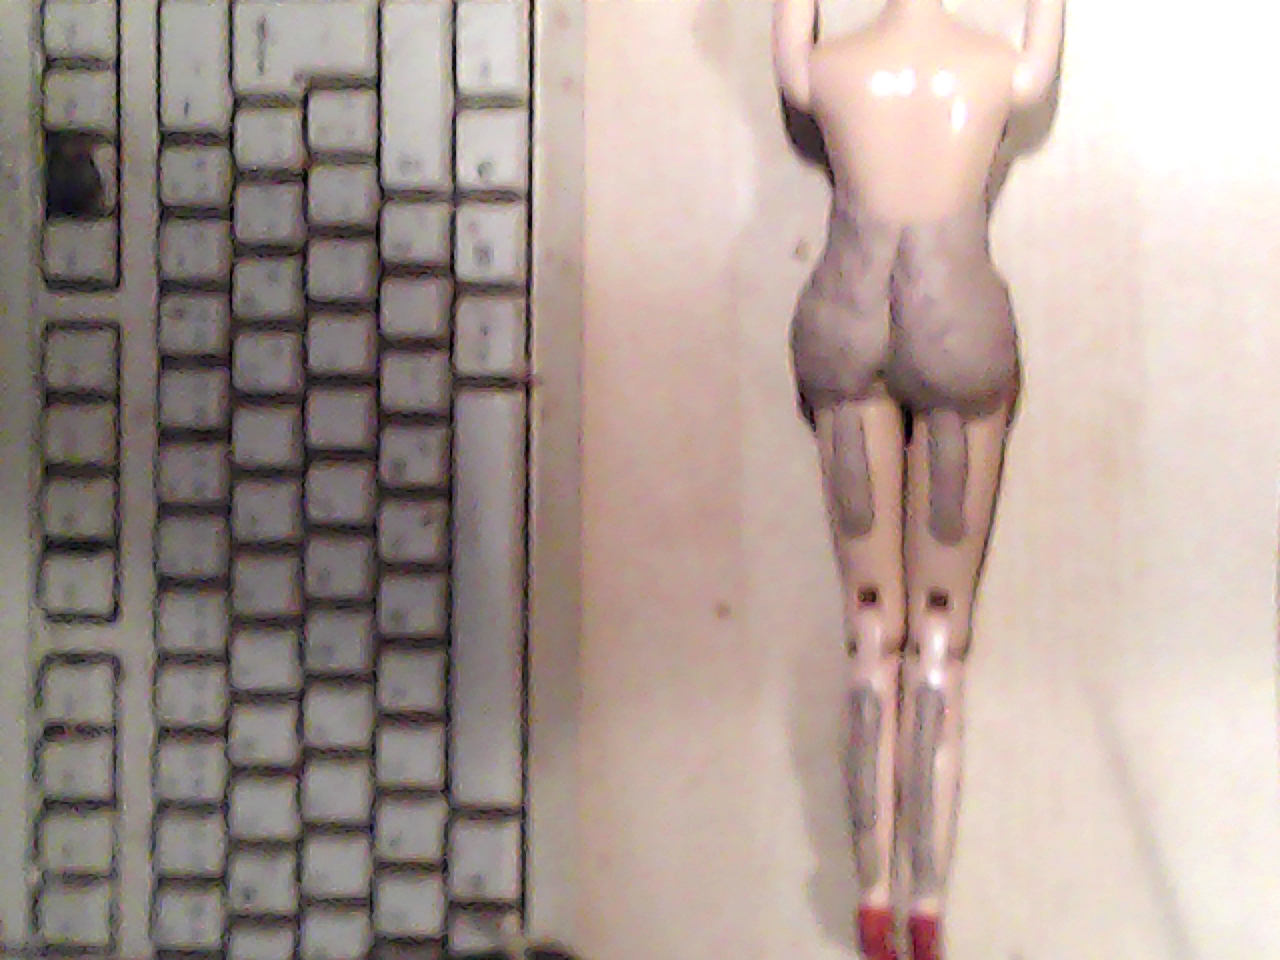
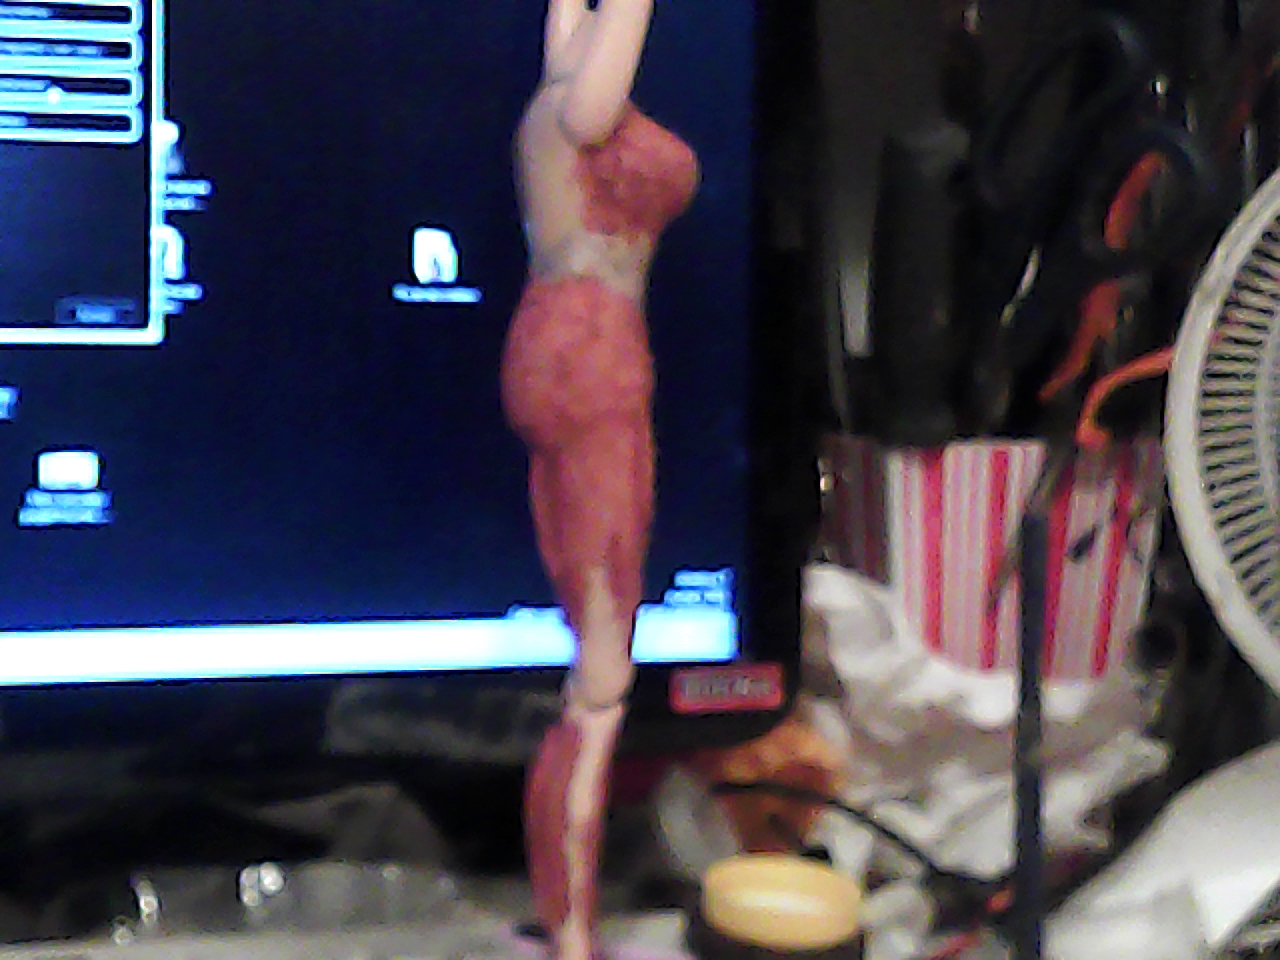
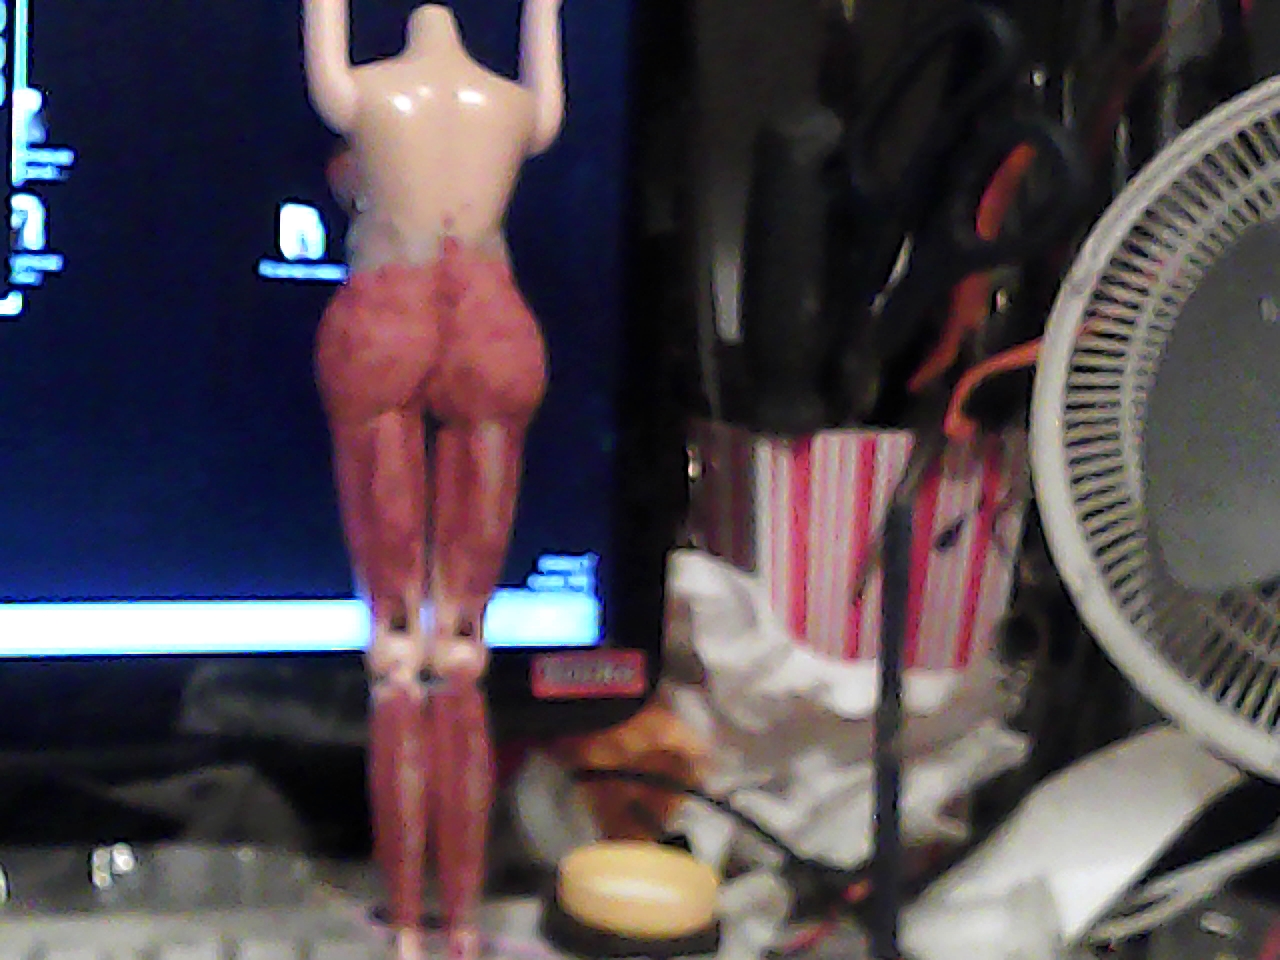
The 3 pictures below are showing the first coat of automotive body glazing over the hardened polymer paste.
*
 *
*  *
* 
*
Then around 5 other coats and 4 sandings. She is taking shape slowly.
*
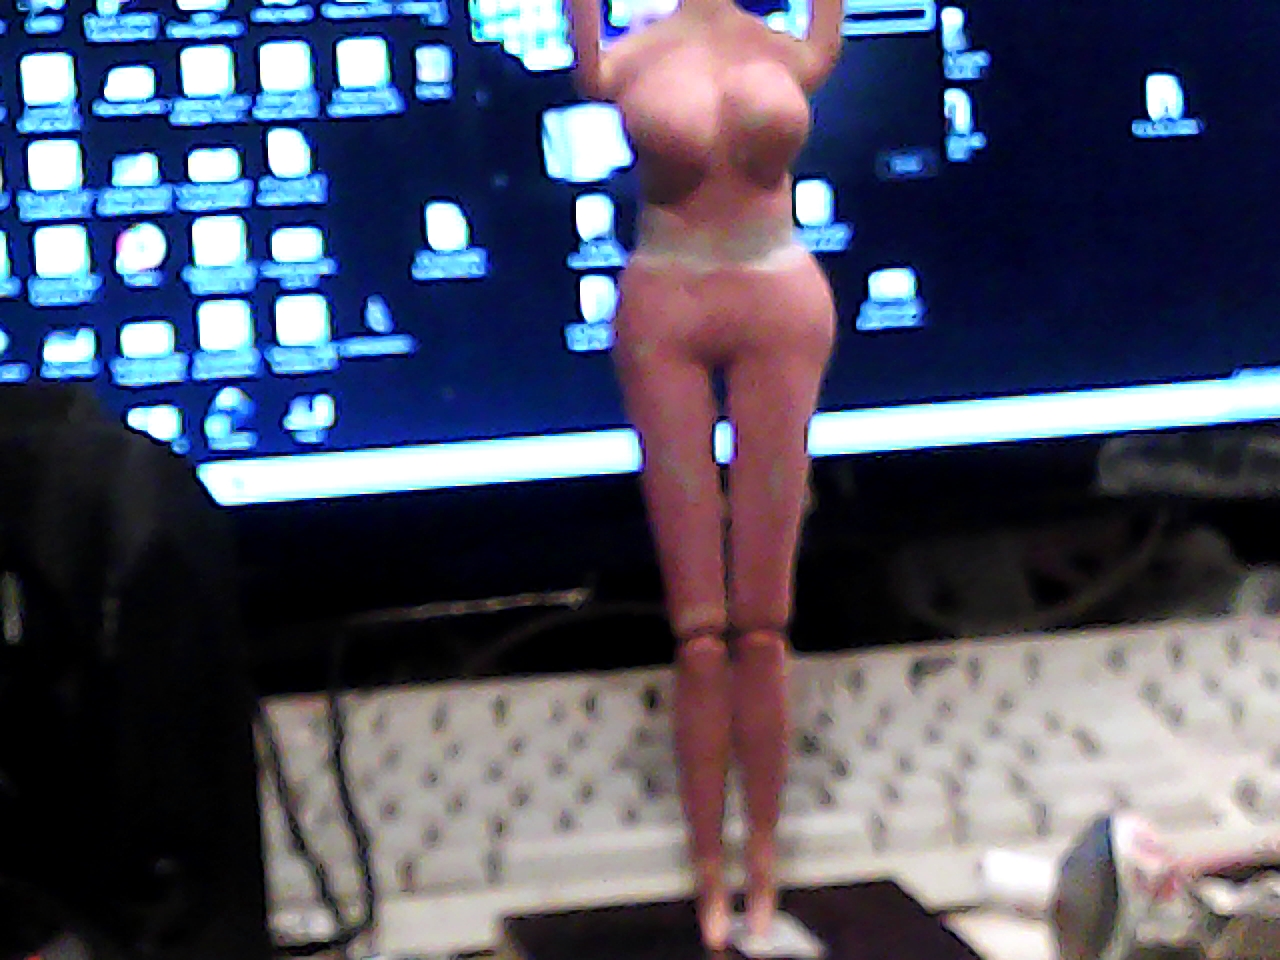


Some more coats and sandings have been done since these last 3 pictures taken with the poor webcam of my little shop. Many times I travel to my friend Mimi for a stay of a couple of days and I bring some projects, tools and materials with me, so I can work on her counter. She has a better camera and of course it takes better shots.
I still have some work to do here and there, like rounding the bum. For the moment at least, I keep the joints of the knees in case I would like to bend a leg. I plan to make some casts of the body… that I will modify for other beautful heads that I have awaiting for their bodies
*
*
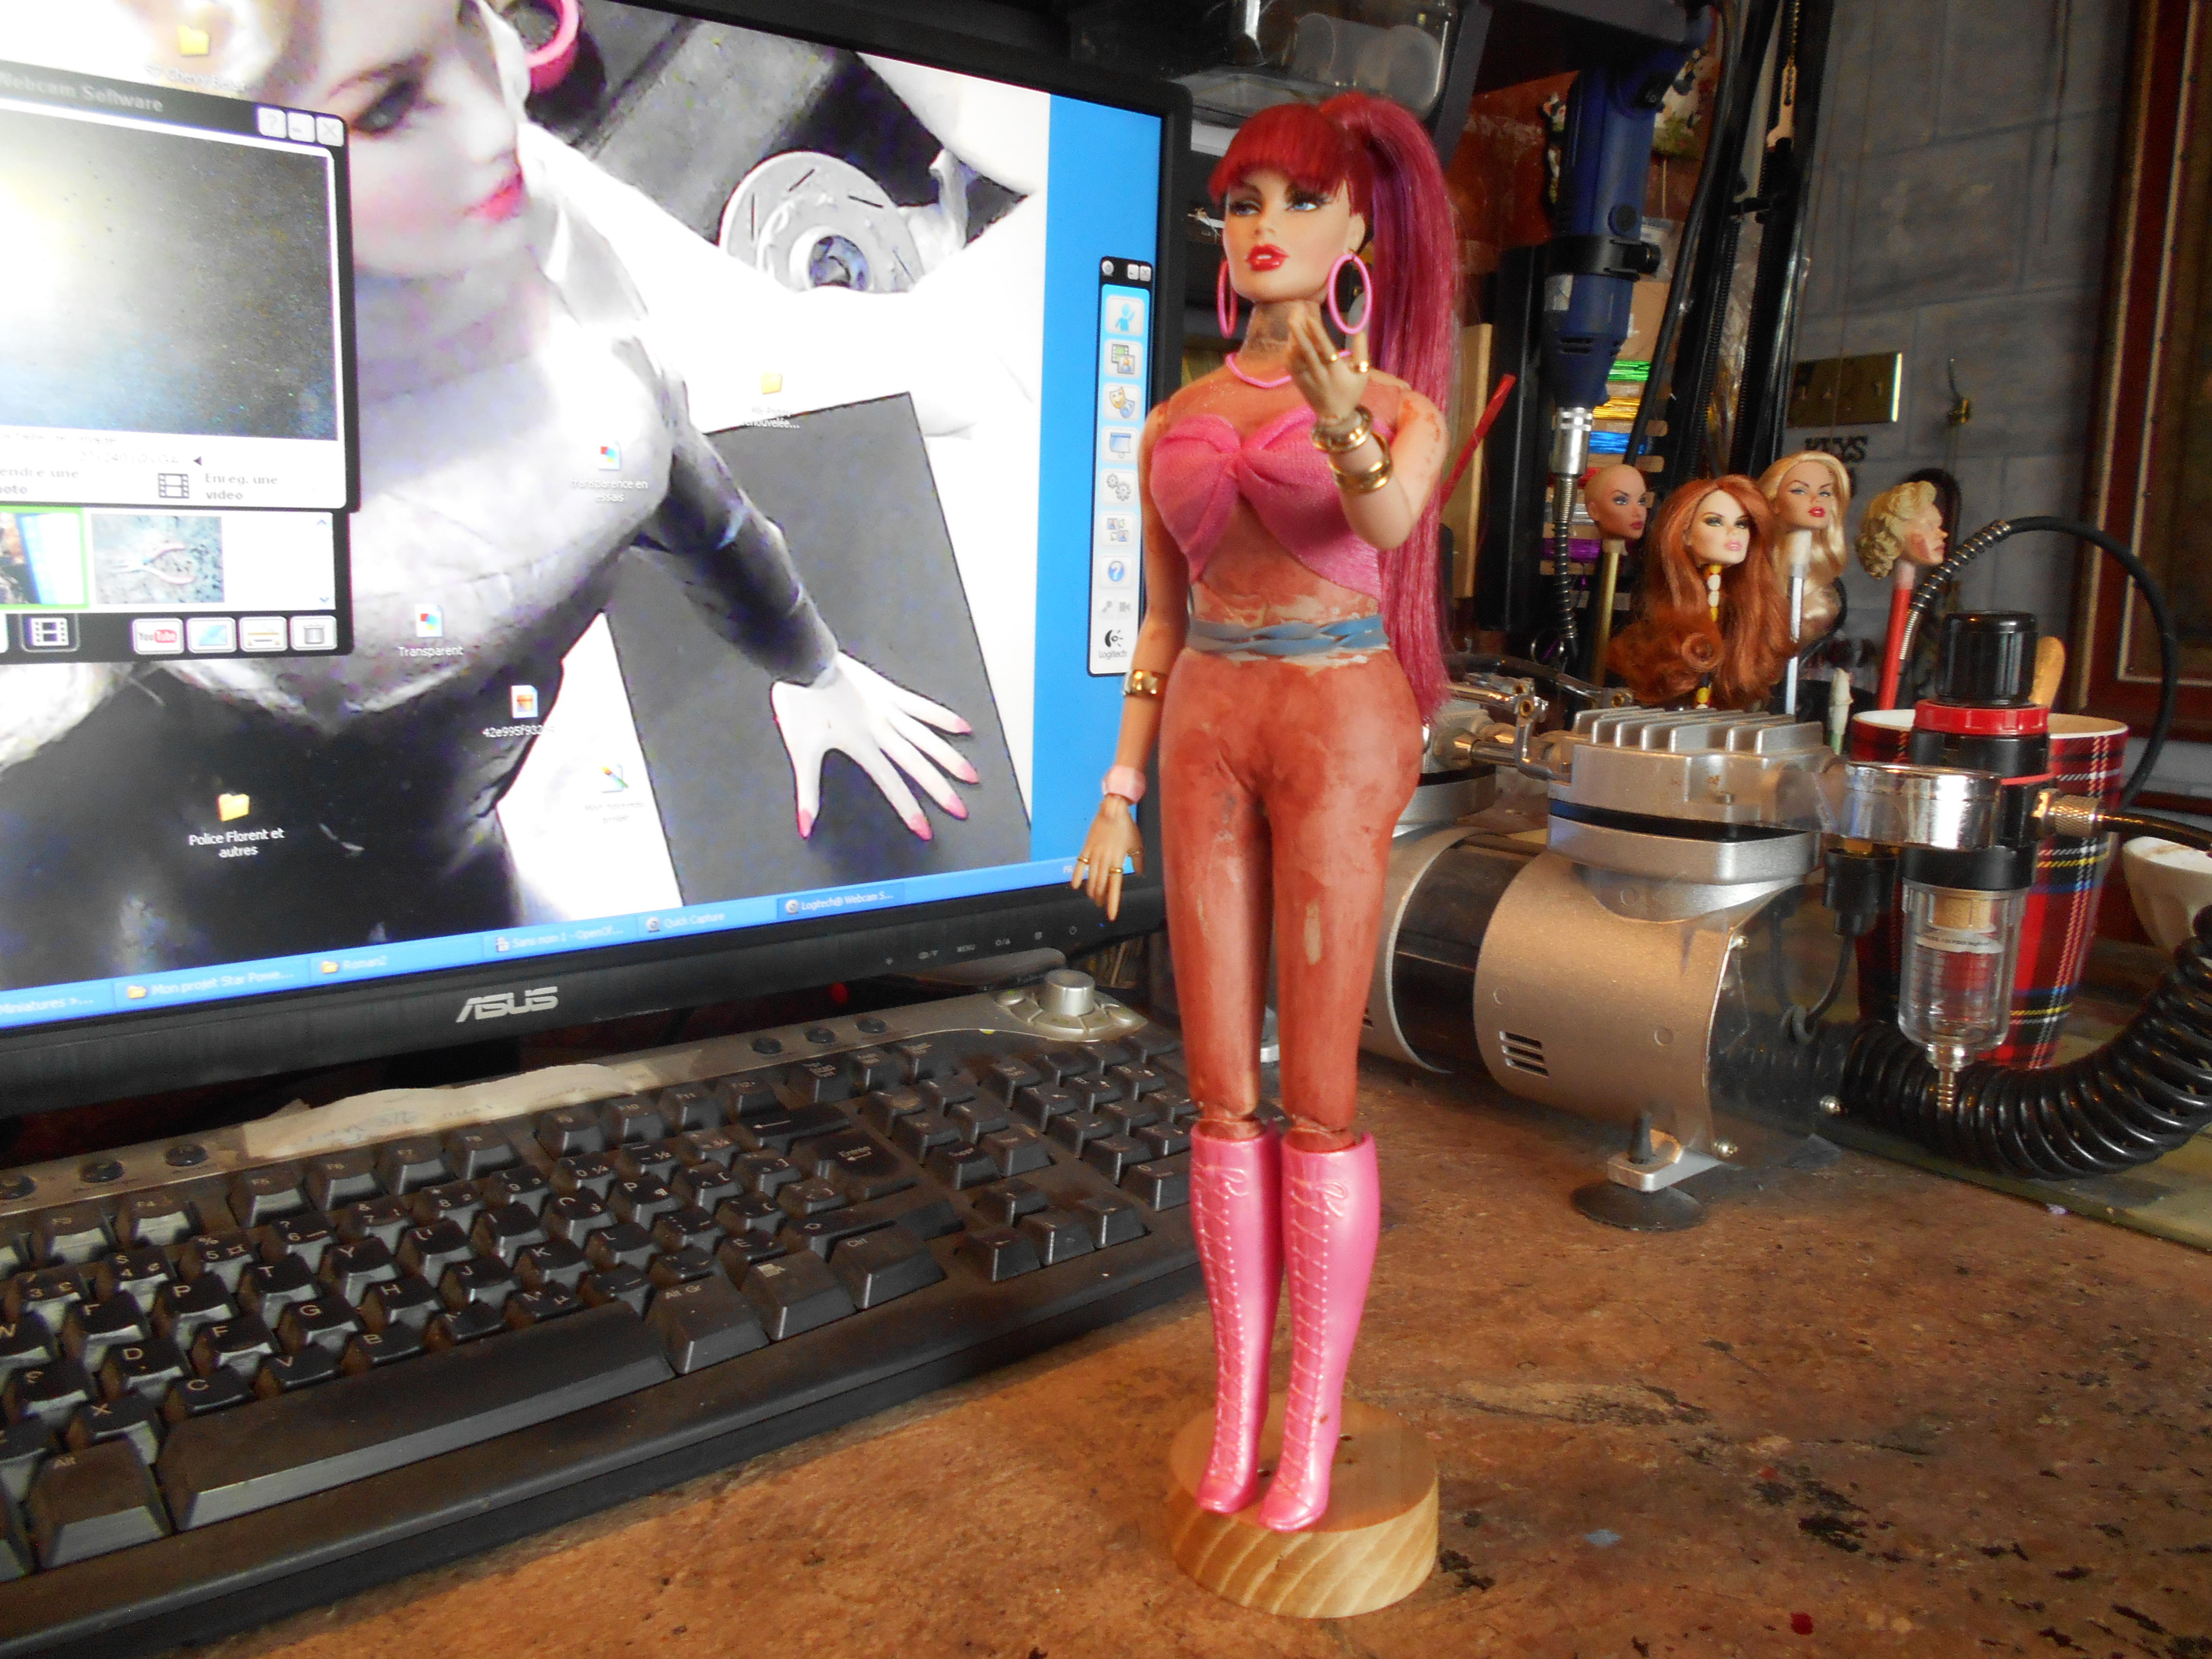
And here I am at Mimi again, taking a good italian Café au Lait, french-canadian style. The pictures of the figurine who wears outfits in process, including the first on top of this page have been taken during different steps of the modification of the body. It is to give me an idea of the general look of the work in progress.
*
I really did not like the hands of the doll that I had chosen. If you look at the picture above, they looked crude, not well done and 4 fingers are molded together. I knew that I was going to change them. A few weeks back I started to work on a technique to fabricate hands from scratch and another one for crafting long fingernails. The results were not bad. It is just a question of improving the way I am doing it. I left it aside probably for the night and as it happens so frequently, on the next morning skipped on other projects. It is not rare that I get up with a new idea in head and I am affraid to forget it so I start doing it on the spot.
*
Going back on the subject of these ugly hands, I have been several days telling me ”Today I am going to cut them and install better ones.” No, it did not happen till yesterday when I still looked at the figurine and got a bit mad of seeing her still with these awful hands. They make her look like a toy and I hate it.
Days before, I had gone trough the pile of dolls and found one with beautiful hands. The body was totally out of scale by areas but the hands were very nice and I was sure that they could fit very well on my beauty. I had removed all the heads on these dolls weeks before and I could not remember what it looked like. Fortunately I saw some minuscule writings at the back of the body so I took a magnifier to be able to read it : ” Hasbro 2014 sa” . I went on Google Images and found dolls with ”out of scale” heads for smaller bodies. I recognised the hands. They were the same.
*
*
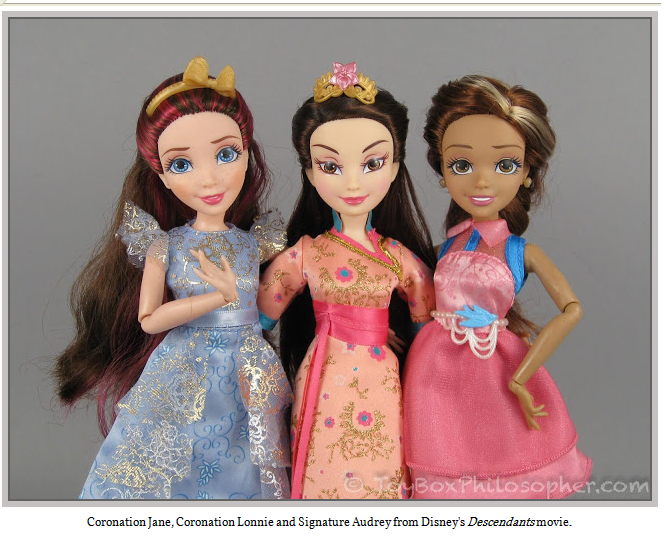
As seen at the bottom of the above picture, This photo comes from the website ToyBox Philosopher.Com
and here is the hyperlink:
http://www.toyboxphilosopher.com/2015/08/a-disney-descendants-doll-update-review.html
*
I have inserted this picture as a reference to show what these dolls look like. As a scale modeler, I like what looks realistic, all proportions related. I find these dolls perfectly ugly, except the fact that they have beautiful hands. The doll on the left side has the very same right hand as the one that I have. The dark skinned one at the right side of the picture has the same left hand that I have except the skin tone. Both hands are swiveled and tiltable. They are also easily removable.
*
*
Here is Vanessa with her new hands. It was before the crafting of 6 finger rings (3 for each hand) and the first set of wrist bracelet on her left hand that a little later I changed for a single one but wider.
*

*
This is what she looks now, with her finger rings and the new bracelet on her left arm.
*
*

*
Wow, she is definetely a lot more beautiful with these new hands… and jewelleries. But there is still a lot of work to do on her.
*

*
The above picture is another project of outfit, another shade of pink, among plenty of other ones that I have in store for my beauty. I had taken this picture before the change of the 2 hands.
*

*
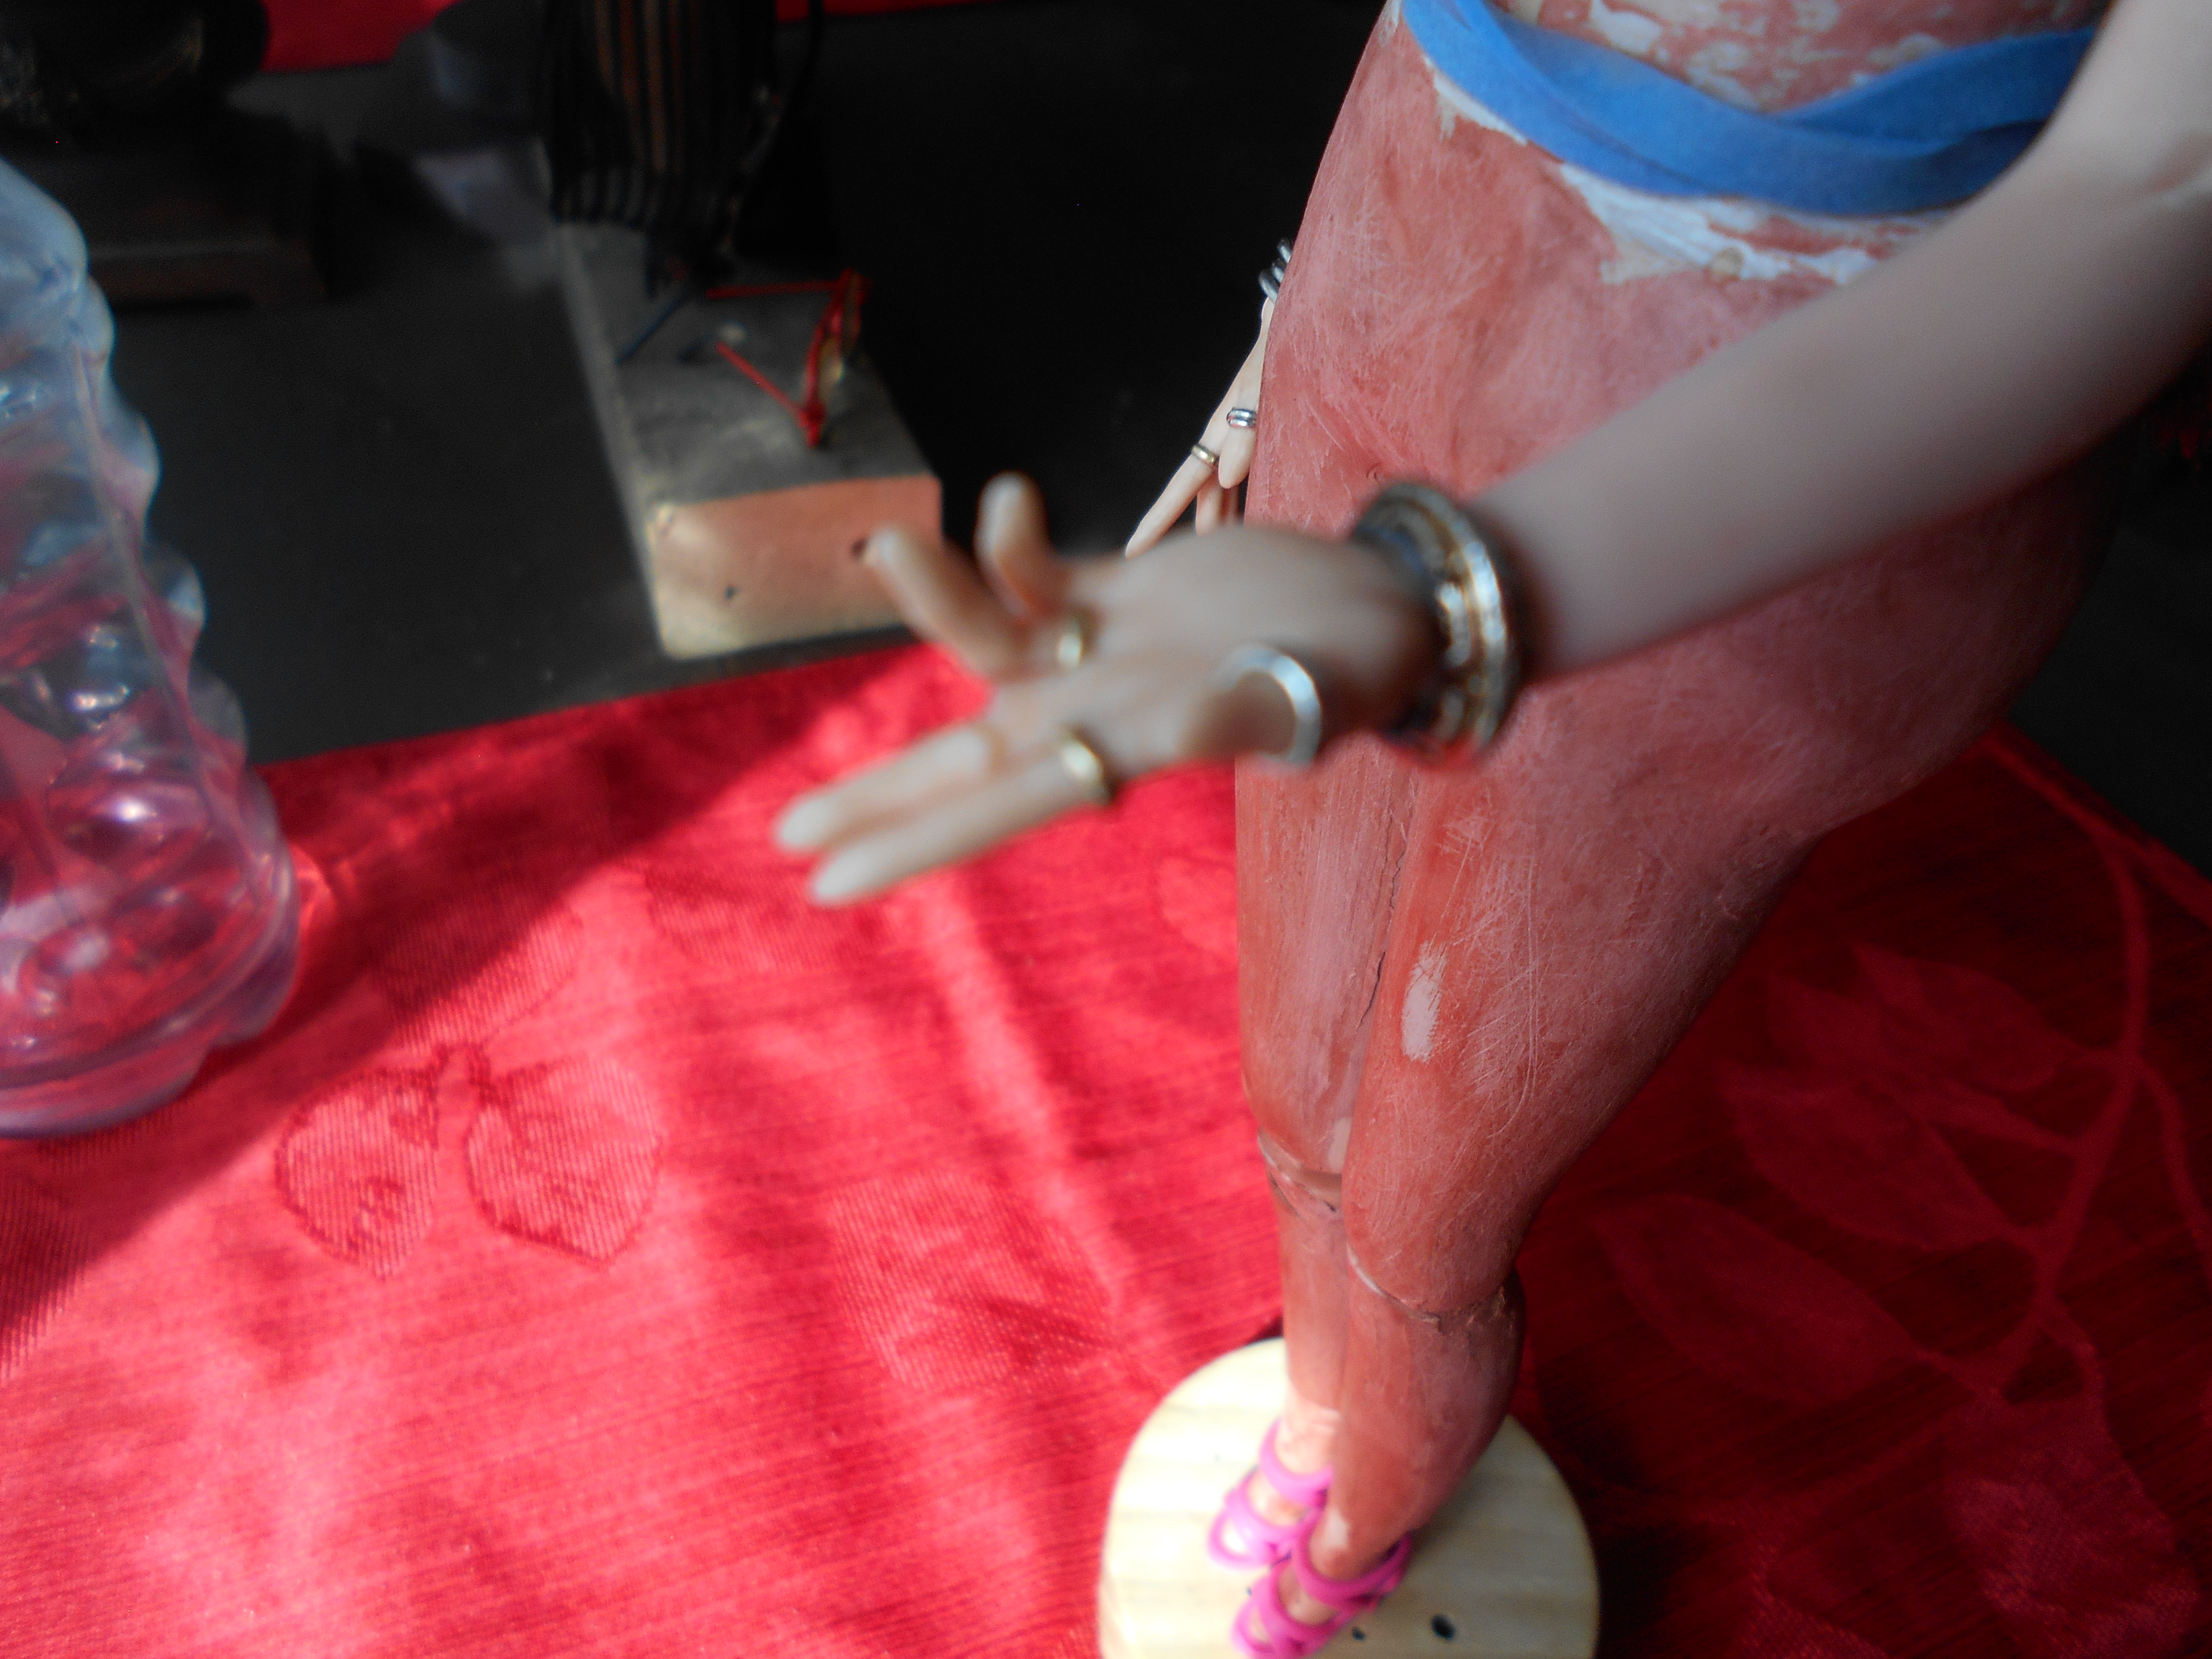
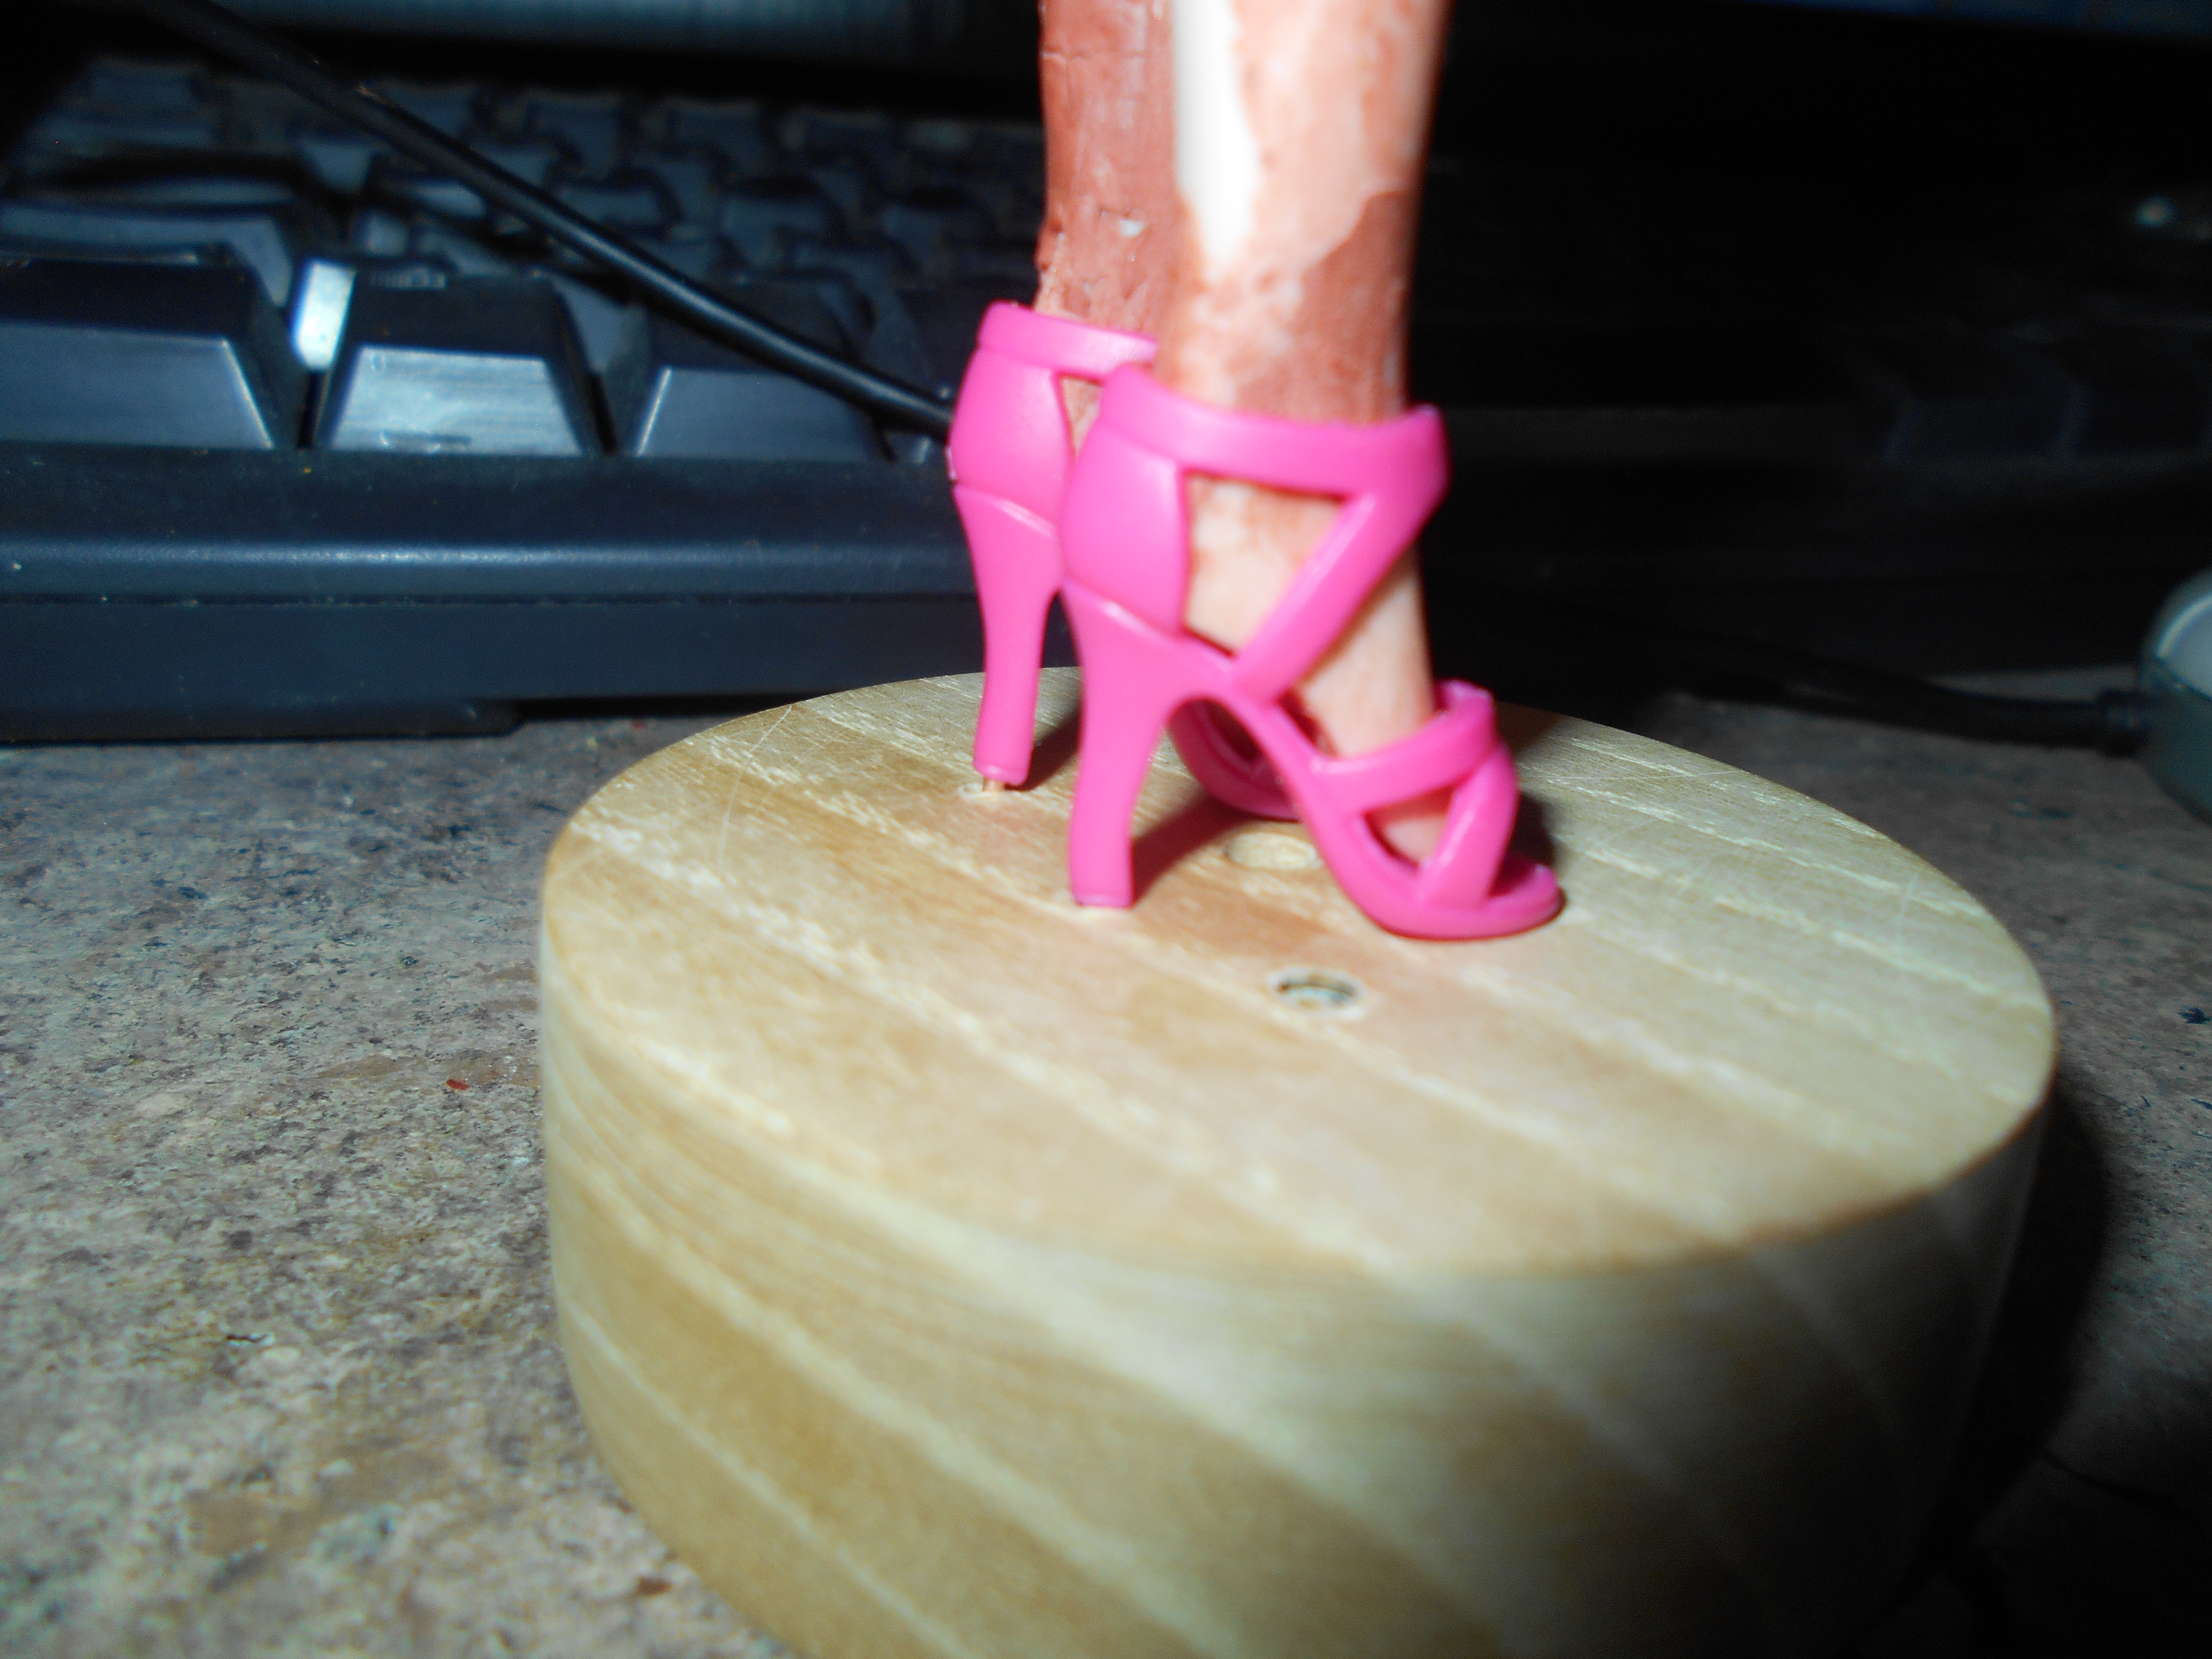
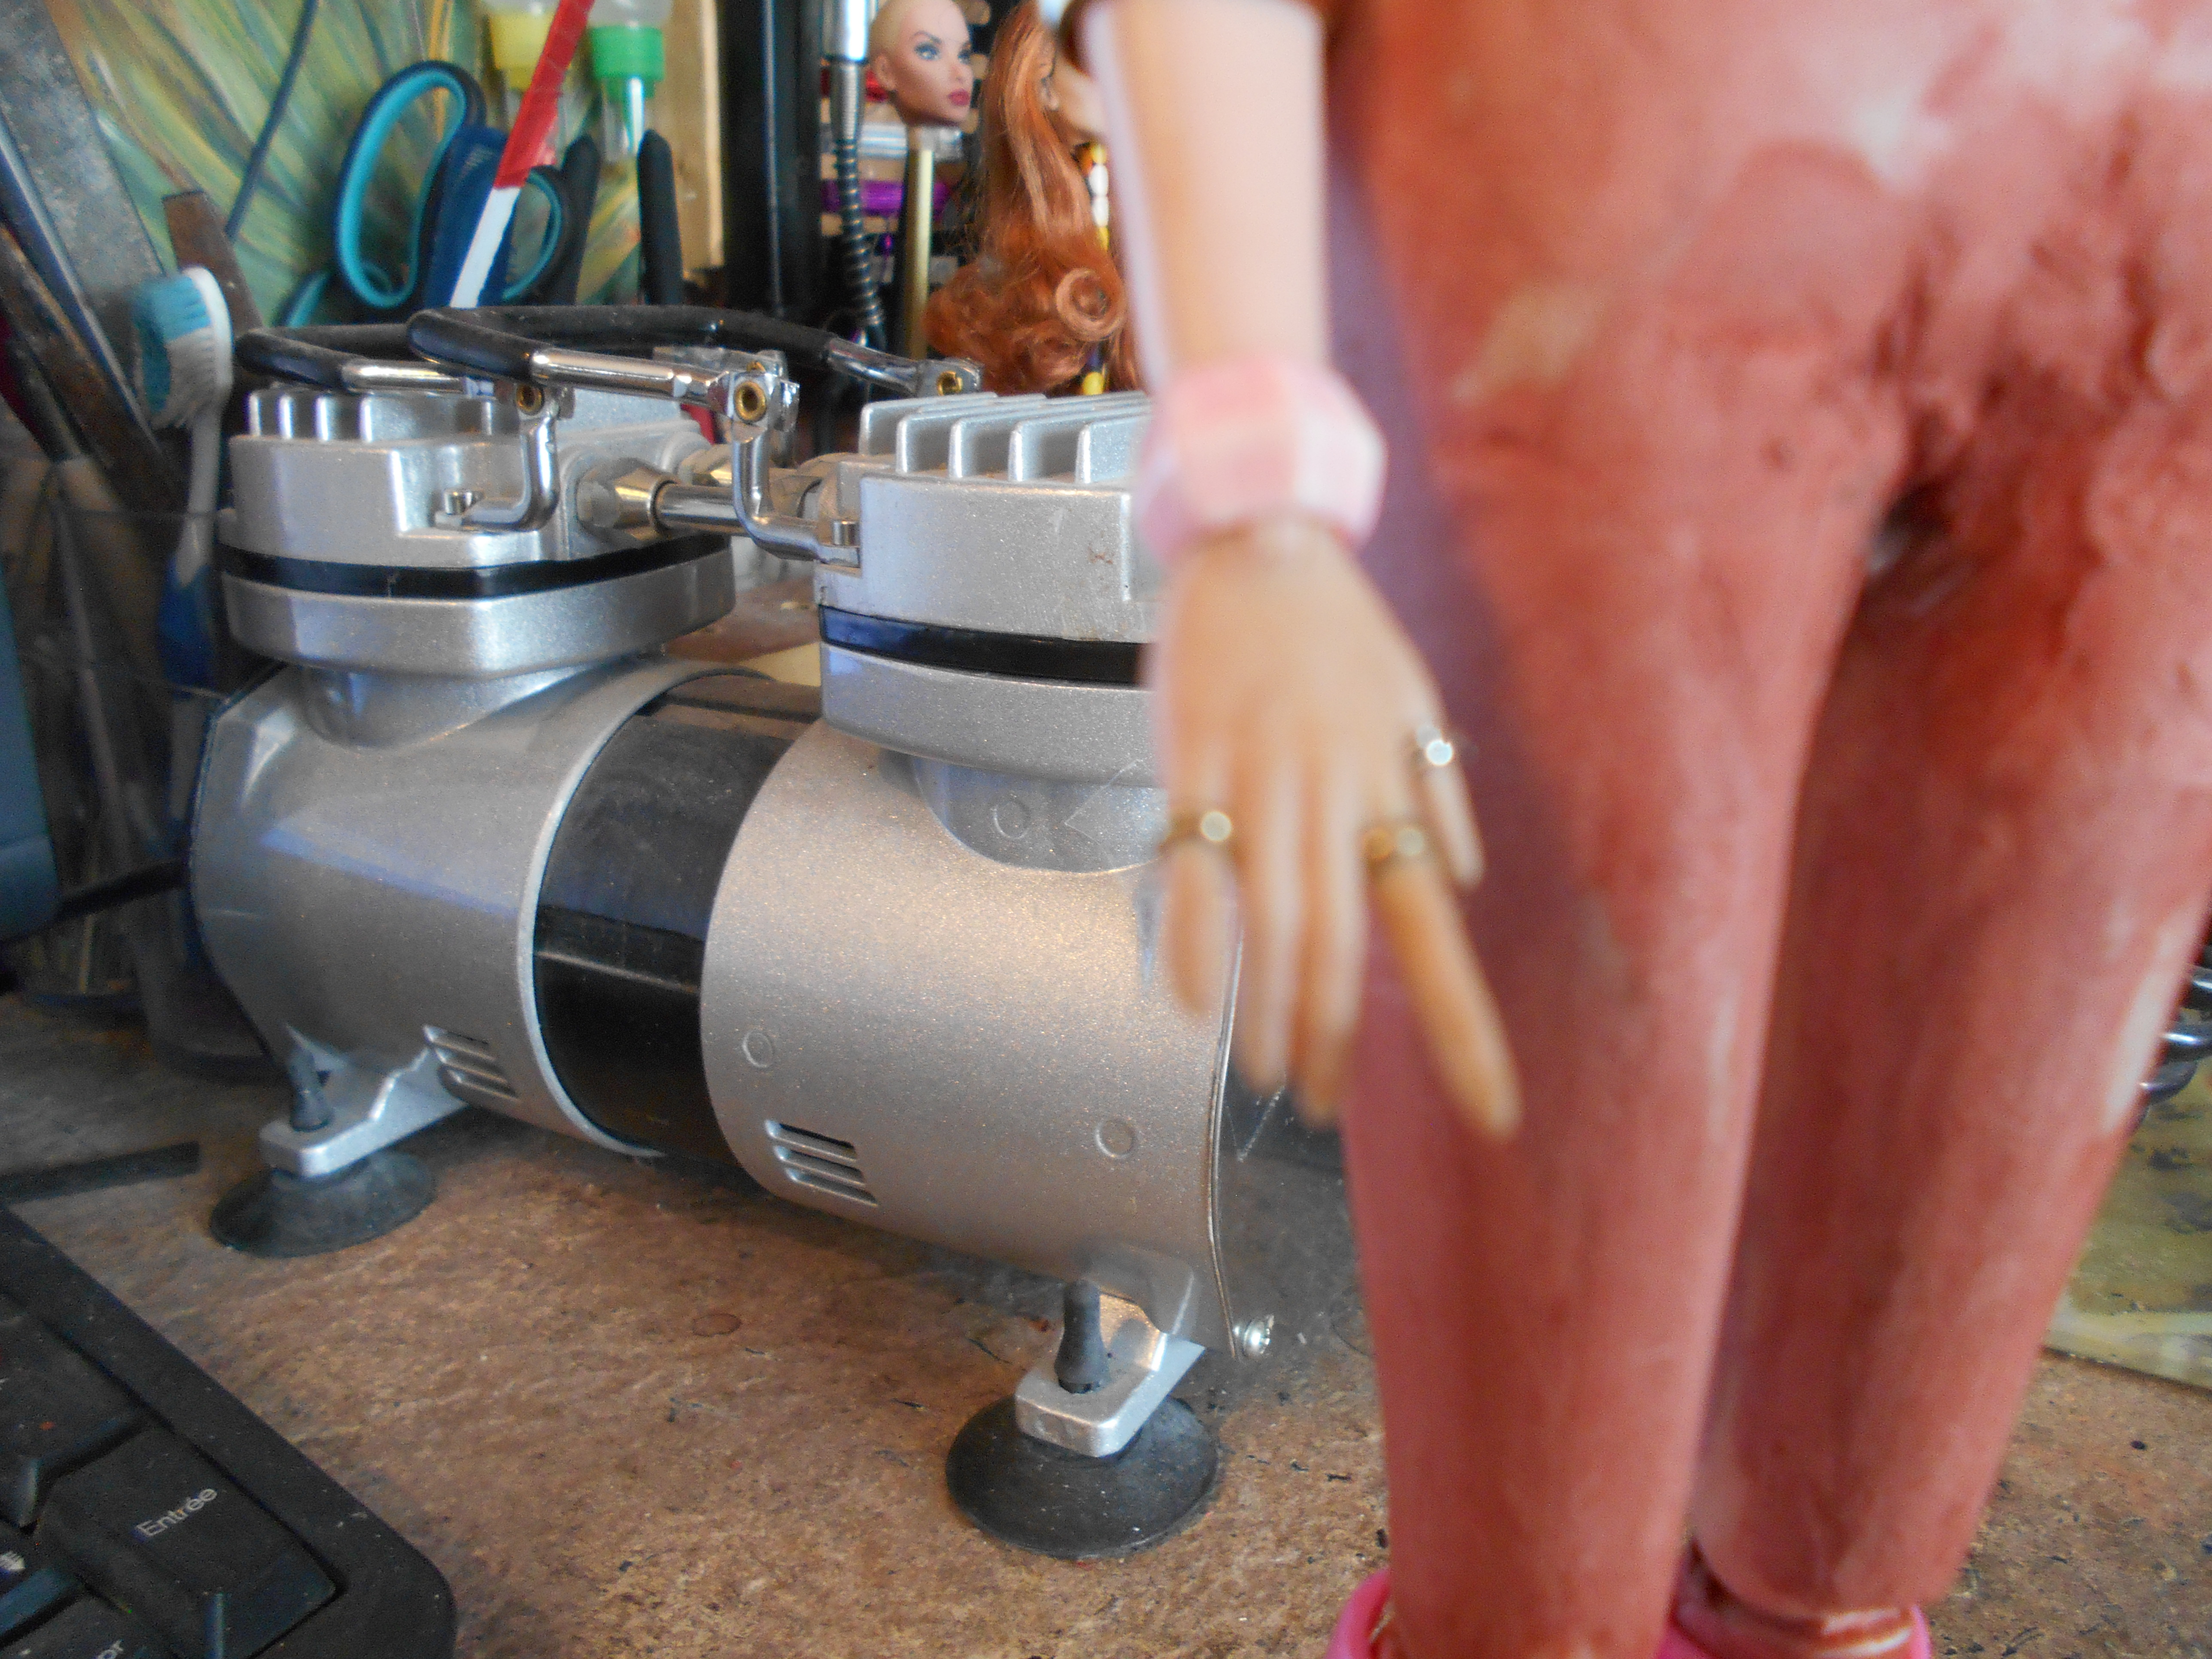
I own many pairs of 1/6 scale high heels, long or short boots, taken from different dolls or bought in bags. I found these pink shoes in my bunch.
I wanted to try to do something, to make a hole trough the very tiny heel on each shoe and inserting a wire trough it. I had also to puncture the 2 heels of the legs of the doll because the wires had to go in them till the level of the ankles. The wires had to be even longer because my plan was to puncture a small wood base that I had cut with a hole saw and sanded smoothly. This was a difficult task because the shoes are made of a soft vinyl and the very small heels are bending, and twisting while you try to stay in their center drilling them by hand very slowly. Finally… I succeeded on both of them. I was surprised because it was all a challenge. During the process I broke the putty on the ankles because these legs are made of a more or less rigid kind of viny and putty doesn’t stick hard on vinyl. I had to put new coats of glazing on these areas and more sandings and coats will be needed. I plan to use different pairs of shoes and boots on this figurine.
*
*
And here is what it looks with the legs, the shoes and the bloc of wood with the 2 wires going trough all of them. This base is a tool that I made to hold the figurine on her legs when I work on her.
*
*
Do not forget to click on the pictures to see them full size.
*
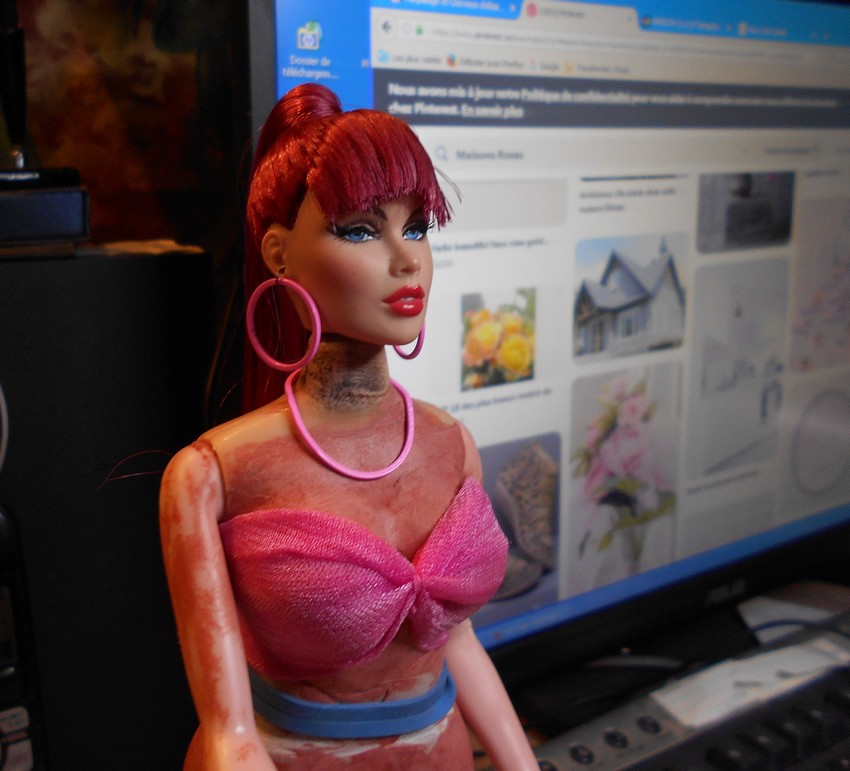
Here is another little addition on my beauty. I crafted some pink jewelleries for her. The necklace has been difficult to make because I started with a rigid perfectly round sturdy piece. I had to bend it in several areas to match the configurations at the base of the neck all around the doll. It never seems to be perfectly bent on some areas. When you try to do it, it has to be removed and bent again in some places. Then here it is too much, and there it is not enough. Then it passes from too much to not enough again and the kind of oval piece comes very irregular. It would have taken a very soft material but this is not what I had at the hand. Nevertheless, finally it came out nice.
*
In my doll outfits, I found a pink bra. Fortunately it is made of an extensible fabric and it suits her boosted chest. The pink color even match well with her new jewelleries. Of course, as I wrote somewhere above, I plan to craft different outfits, shoes, boots and jewelleries for this lovely babe. By the way, the black area around the neck of the doll is because it came out of the factory with the neck bent forward and I noticed that many dolls come on the marked this way. I heated it over a candle to melt the plastic and straighten the neck. I also shortened it because the manufacturers of these dolls are all making the necks too long. I will rework this area to make it also a bit smaller in diameter. This makeup on the Vanessa Star Power is absolutely gorgeous.
*
*
I also found in my bunch of stuff, a nice pair of long boots and fortunately, they are pink. I ended up with a new problem because when I appied putty all around the legs, including the calves and ankles and the result was that because this doll had her 2 legs very close one to the other, at the end there was no space left between the 2 of them, so I was not able to install the boots on her legs because the 2 calves were forcing the joints at the knees and the legs became bent at this area. I had to insert a very narrow hacksaw blade right under the pelvis and saw each leg horizontally toward the outside. I didn’t cut completely the legs. I just made an opening about the ¾ of the legs. Then I bent a bit each leg toward the outside so at the base, the 2 feet, ankles and calves had a space between them. Then I had to fill the openings made by the saw blade with epoxy, and then by coats of car body glazing. I then was able to install the long boots to the babe.
*
*
*

*
In the past weeks I also crafted 2 new pink bracelets for Vanessa. I missplaced one of them but for sure I will find it back. I used 2 different hard plastic beads to craft them, in 2 different kinds of pink colors. The one that my lovely girl still have at her wrist is made of a unusual kind of shape. It is like an oval semi-round shape but it has squarish corners, like some kind of exagon mixed with an oval and baloon shape. The color texture is also unusual as it is passing from white to pale pink in a kind of gradient spots all over the piece, repeating the same colors schemes all the time in some kind of chamoiré finish. This bracelet will suit some very light pink fabrics that I have in store to craft some other outfits for this pink lady. I used mostly some tiny round files to slowly increase the diameter of the hole. Doing this on a spherical or semi-spherical piece is reducing the lenght of the item. More you increase the diameter of the hole and narrower comes the workpiece. It finally ends up looking like a bracelet at the end. The figurine’s hands are removable, so it is easy to install the wristlet. This process is long enough and you have to be patient. Nevertheless, I like the result.
*

*
On the right side, the original bead. On the left, a copy that I modified into a bracelet.
*
*
Notice also that I have made some more work at the pelvis area on both sides of the legs. The area is still rough. In the previous hours I used a knife, an hacksaw blade, some miniature round files and sanding papers to fix this area that I had to cut and fill of epoxy and glazing. Some more work has to be done on these spots.
*
*
I fell on this nice scripture on Pinterest. It is so appropriate to my personal line of thoughts … and even the background colors fit this present theme.
*
More pictures and blablas to come.
*
If you have any question or comment please contact me
florent@montrealminiatures.com