High precision tools
*
*
If you want to build something miniature as faithful as possible to the original item, let say that you would like to craft a chair or make it even more simple, a cube or what ever is the subject, it is a must to have the real thing near you and take the measurements directly on it. Then use a calculator or calculate on a piece of paper to be right in the scale that you want your project realized.
If you really love precision you better buy some machinist tools to help you the best way in your project.
*

*
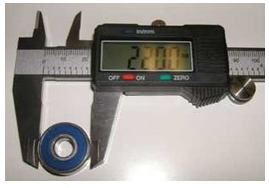
The above tool is an electronic digital vernier caliper. This is a high precision tool that machinists are using to find out the exact measurements of a piece that they have to reproduce, modify, or repair. It is precise to the 1,000th of an inch, or you have the same tools working with the metric system, but you can also convert from inch to millimeters using some useful charts, or calculating on a calculator. The 2 long teeth by the bottom of the picture on the extreme left work similarly to a jaw of a vise. The tooth on the right attached to the piece with the mini monitor showing the black numbers is mobile, it can move by sliding on the right or on the left,as the other tooth at the end on the left can not move. We have to move the jaw enough to insert a piece in between the 2 teeth and close the mobile tooth on the object and the numbers on the screen are changing according to the exact mesurement of the item between the 2 teeth.
Notice that there is another pair of teeth, but smaller, looking a bit like a pair of rabbit ears or dog ears, on the top left of the tool. These 2 teeth are for mesuring the inside of a piece, for example, the inside dimension of a tube or a cylinder.
If we look at the reading of the tool it shows 0.4560. That means 456/1000th of an inch. This means that this Vernier caliper is open at exactly this mesurement, just a tiny bit thinner than ½ an inch (0.500 or if you prefer 500/1000th).
1000/1000th would equal to a very precise 1 inch with not even a 1/1000th of an inch more or less.
To give you an idea, the average thickness of a regular sheet of paper 8 ½ inch by 11 inch for a printer is 0.0043 of an inch (0.11 millimeters in the metric system). This shows you how precise is this tool.
*

*
A vernier caliper measuring the outside diameter of a ball bearing. We see that the reading on the vernier shows 2.200. It means 2 inch and 200/1000th of an inch. No matter if the piece is round or square or flat, this tool can take the measurement, unless the piece is too long or too big for the tool, then you need a bigger caliper.
*

*
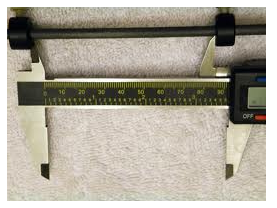
The above shows the upper jaw (smaller one) measauring the indide dimension between 2 bushings on a rod.
*

*
Here we see another vernier digital caliper. The jaw is completely closed, no gap. You see that the reading shows 0.00. This one is probably a metric one.
There are plenty of machinist vernier calipers, numerous manufactuers, and models, smaller, bigger ones, digital ones and regular ones.
*

*
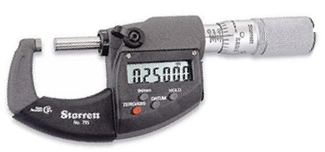
Here is another type of machinist caliper called micrometer. It can not take inside measurements, like the inside of a tube, but only the outside measurements, so it is less practical.
*

*

*
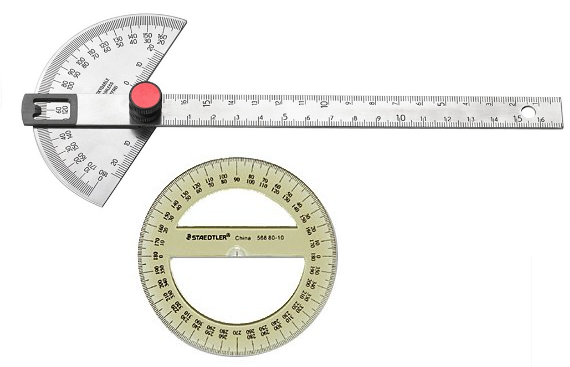
There are plenty of other precision tools if you want to measure an angle, a curve and so on.
If you don’t know how to calculate a scale, please look on my page titled HOW TO CALCULATE A SCALE, for doing so, just click on the link below.
*
http://montrealminiatures.com/?page_id=453
*
Florent
My email address :
florent@montrealminiatures.com


